Easily Integrate the Reputation CRM API with 750+ Apps on Zapier.
Zapier represents nearly unlimited potential to integrate the Reputation CRM API with an enormous variety of 3rd party applications. Click Here to view some of the Zapier apps.
First, set up a free Zapier account.
Creating your first Zap: Automate Email / SMS Review Invites
To demonstrate how a Zapier App and Reputation CRM can work together, we will use a simple example by using a Google Sheet to insert new customers. Because Google Sheets has a Zapier App, whenever a new customer is added to the Google Sheet, it will be created into the Reputation CRM Reputation Builder and Review Invitations will be queued and sent automagically! Let's do it...
1. Create a Google Sheet and prepare it for the Zap
Go to https://docs.google.com/ and click the Menu icon: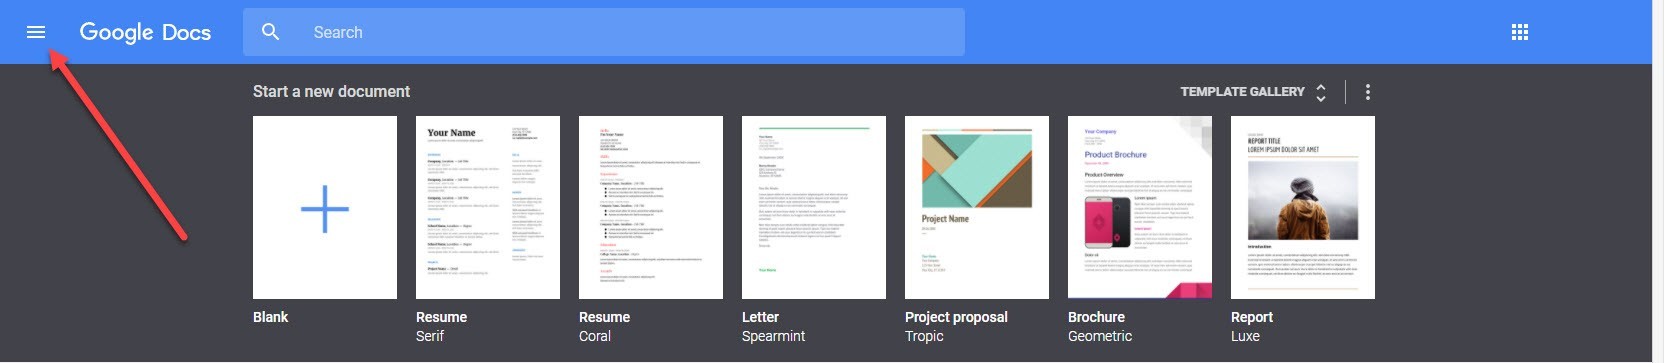
In the menu options, select: Sheets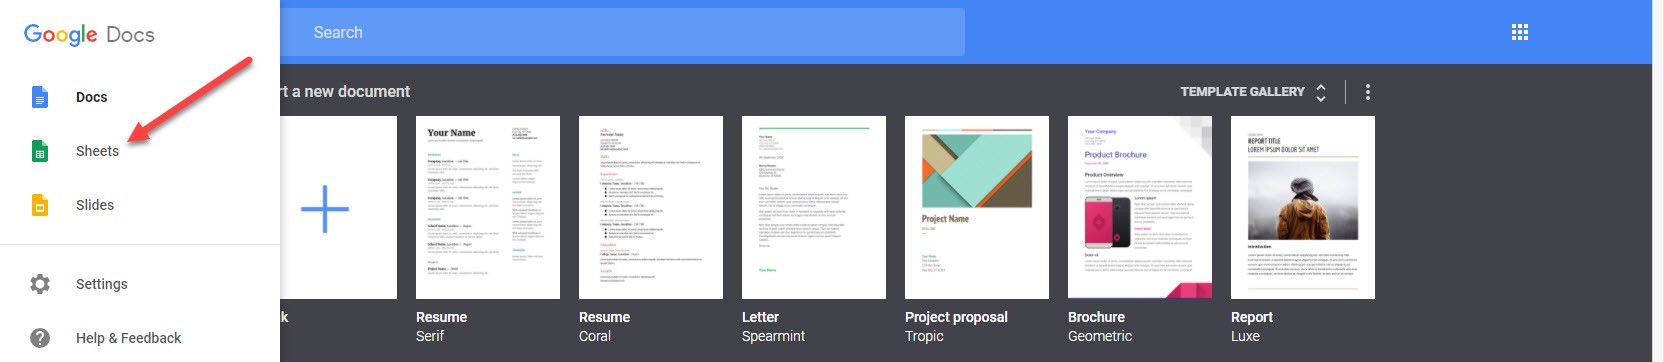
In Google Sheets, click the + icon:
Rename your sheet:
Insert the following titles in each column:
IMPORTANT: Now on the 2nd row, create a test user (with a real email address: yours for example!).
If you don't create the 2nd row, the Google Sheets Application on Zapier will fail!
Let's change the format of the Mobile Phone Number column so that it is easier to insert international phone numbers (the API will only send SMS if Mobile Phone numbers are saved in International format).
Example: the correct way to format a phone number is using the country code, +16125553366 (+1 being the Country code for the USA).
Select the column and all its rows by clicking its alphabetical letter. Click the D column.
In the Menu, click the Format Option, select the Number Option, then More Formats and Custom number format...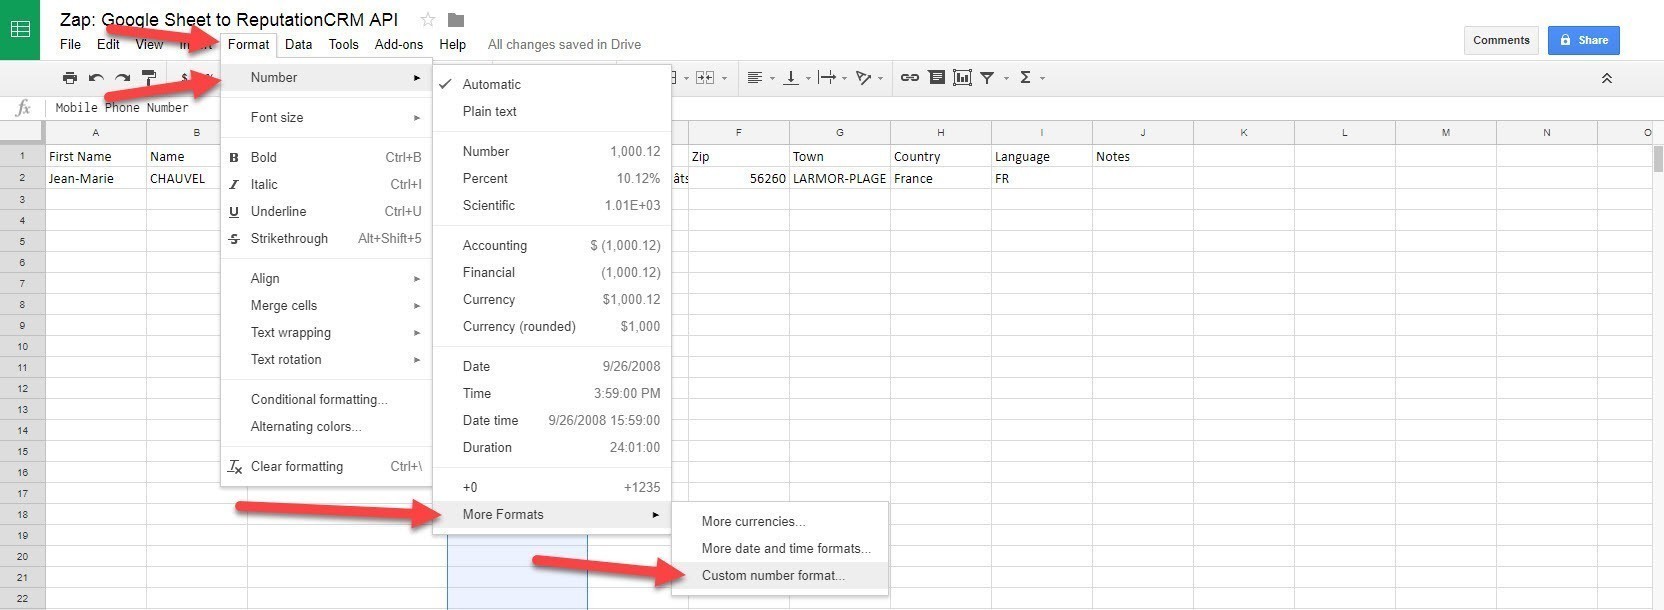
Enter +0 in the field, and click the Apply button.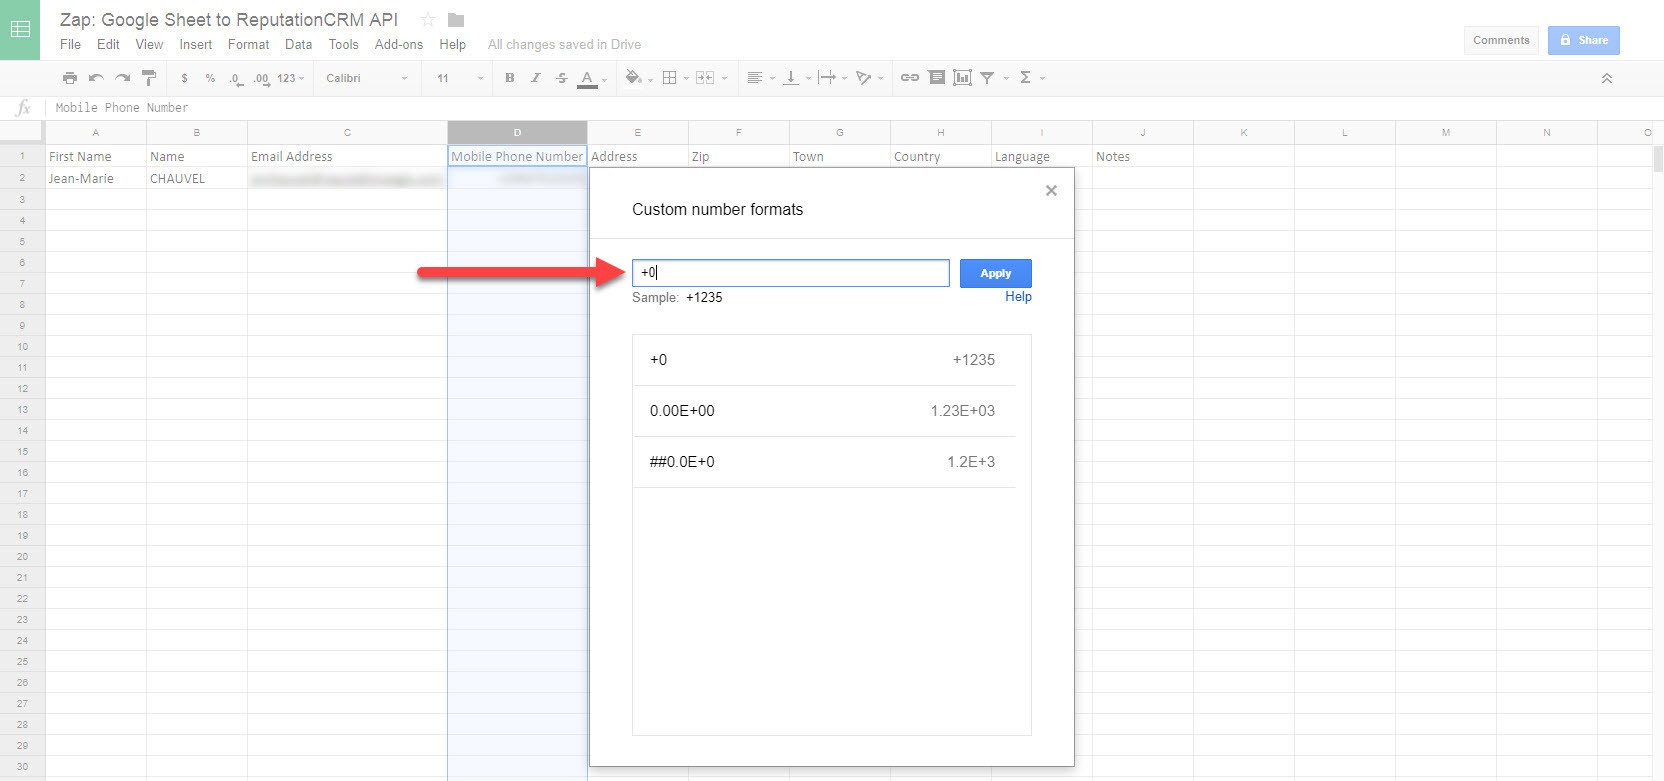
You can now type the phone number (with its country code) without the + sign and it will get formatted properly.
You are now ready with the Google Sheet. Let's head over to Zapier.
2. Creating your Zap
Our Application is currently still in Beta in Zapier, so you will need to click the following invite link. Click Here to get to the invite screen.
When on the screen, click the Accept Invite & Build a Zap button: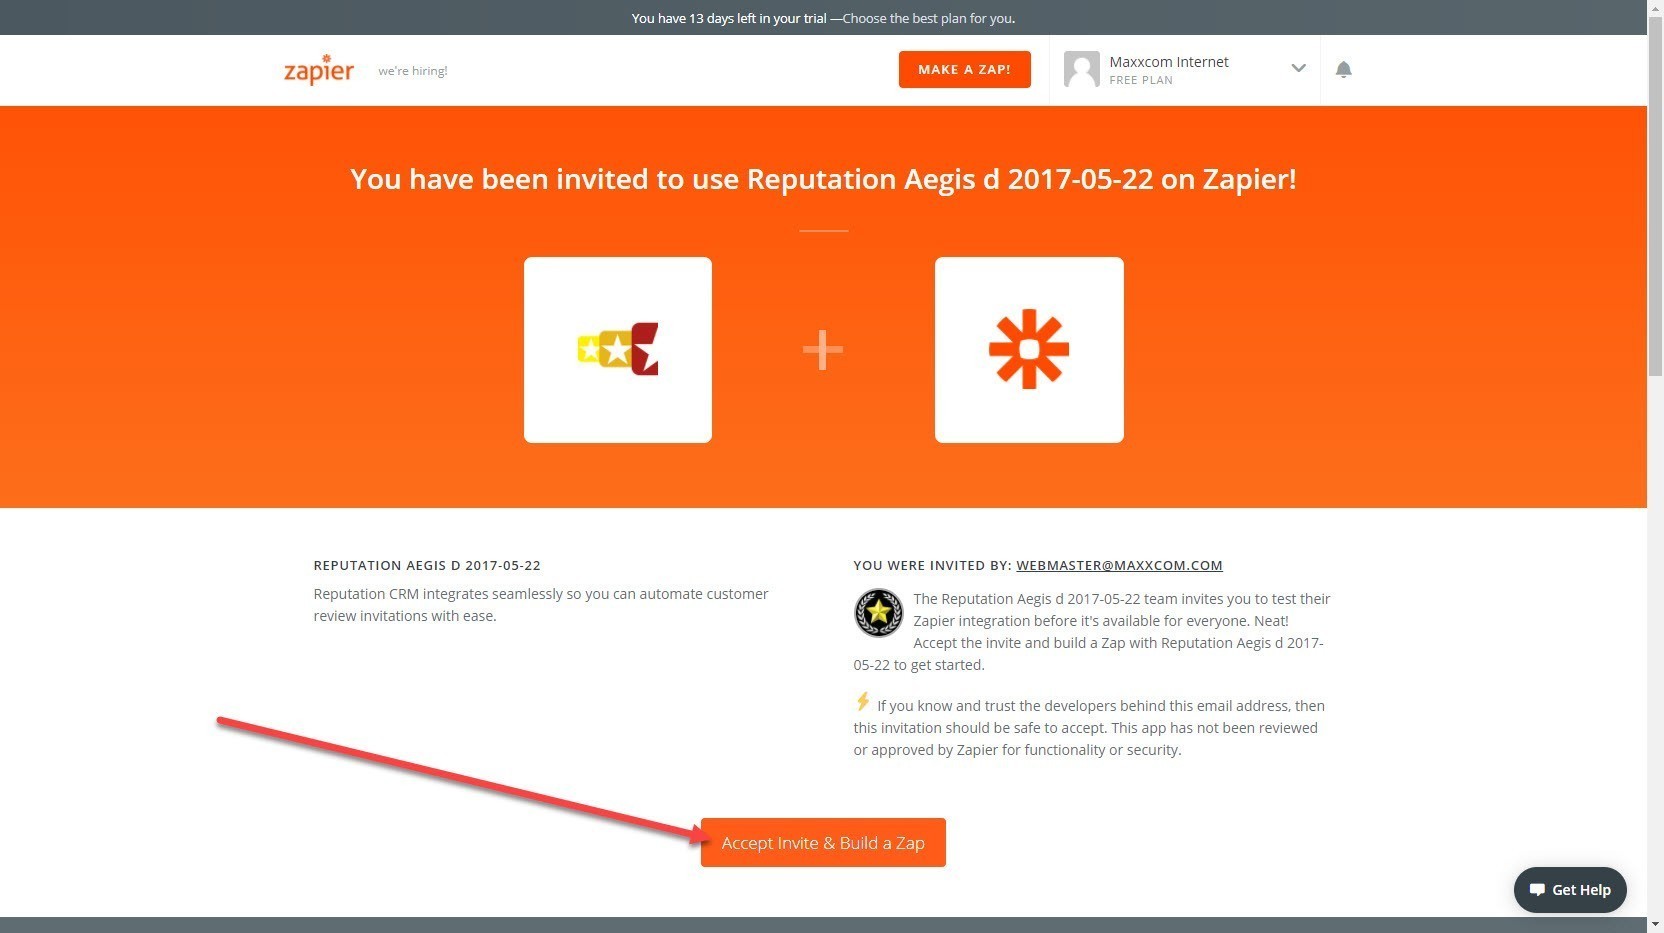
Click the Create this Zap button: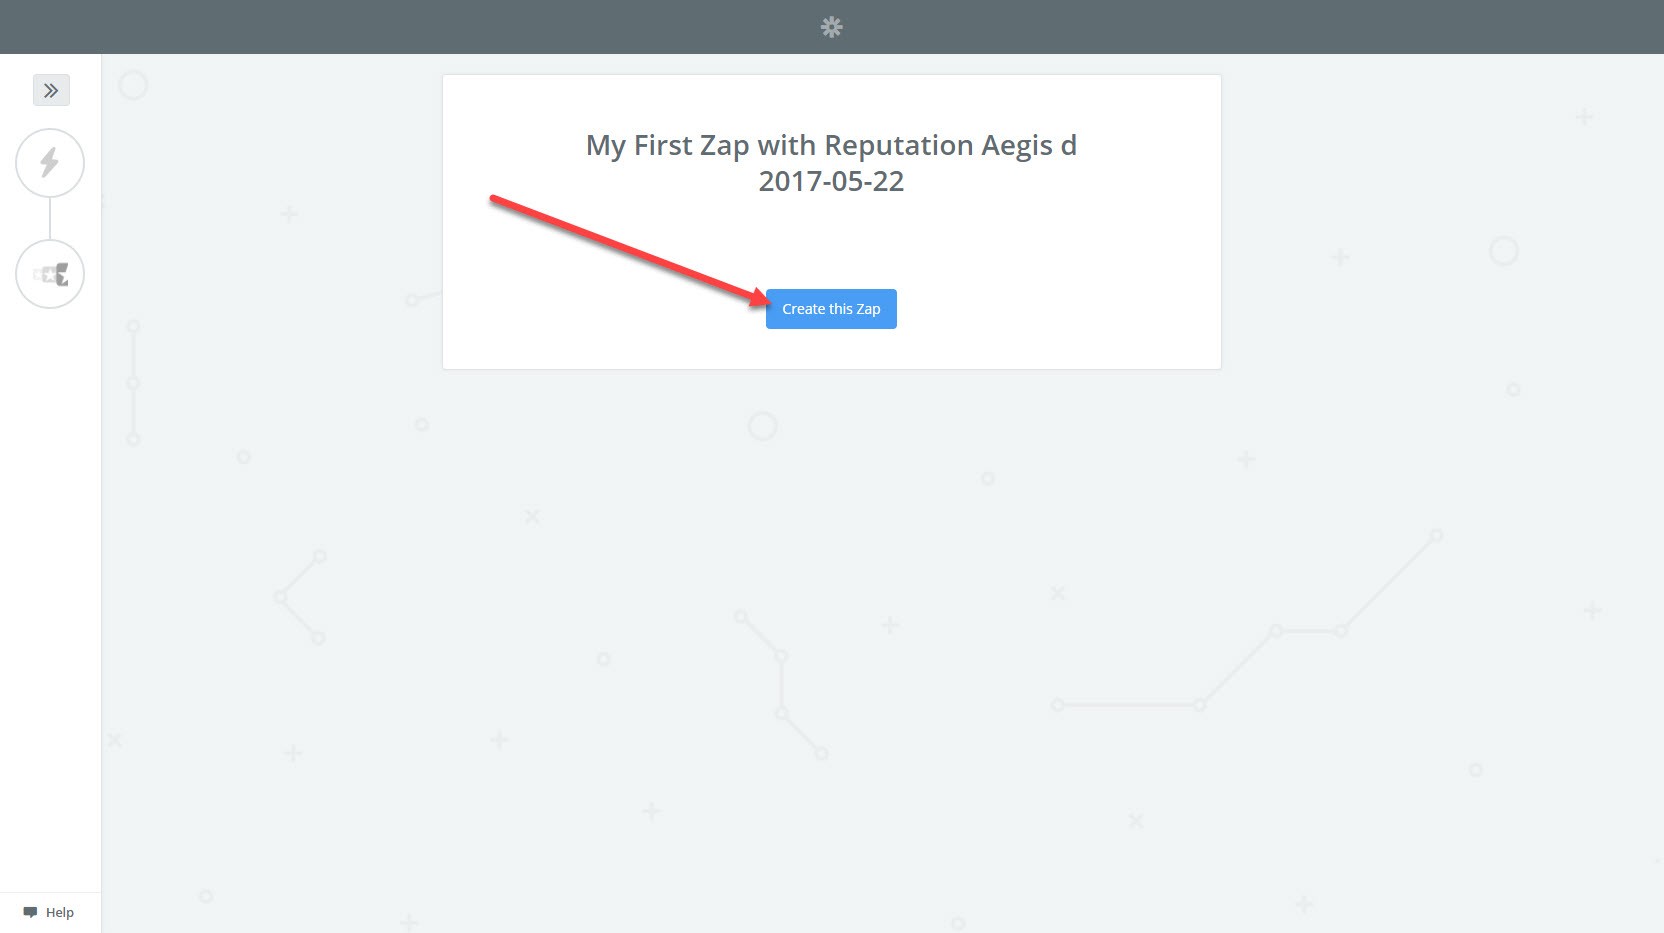
Click in the field under Choose a Trigger App and type: Sheets
In the dropdown, select Google Sheets:
Select the Google Sheets Trigger: New Spreadsheet Row
Click the Save + Continue button: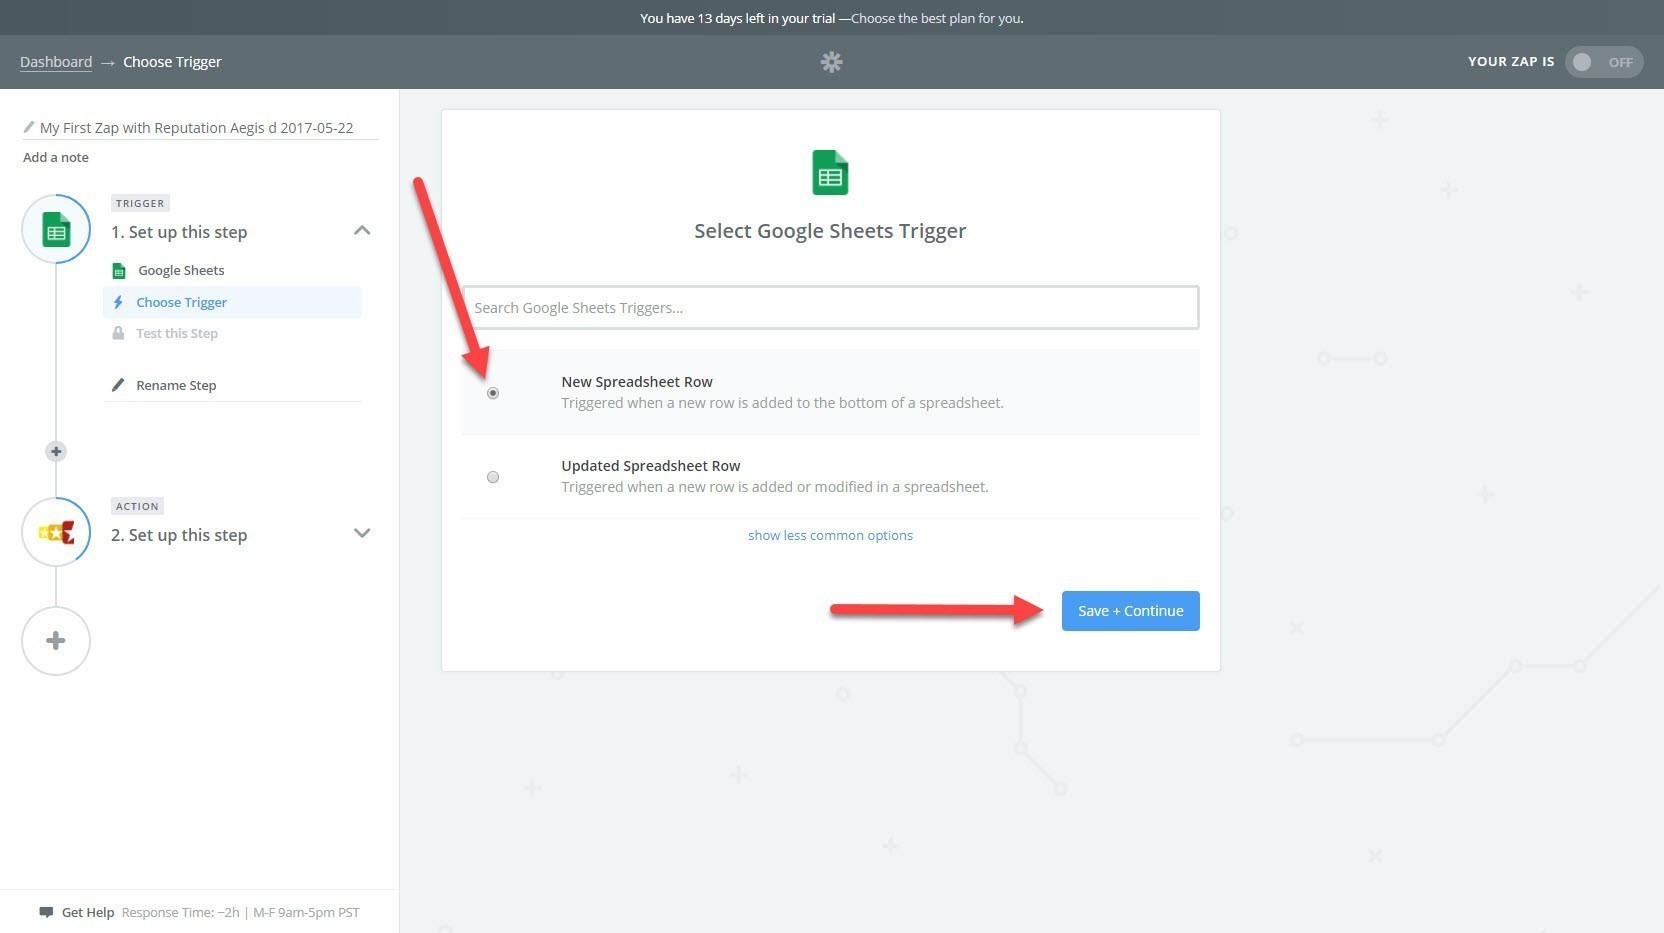
Click the Connect an Account button.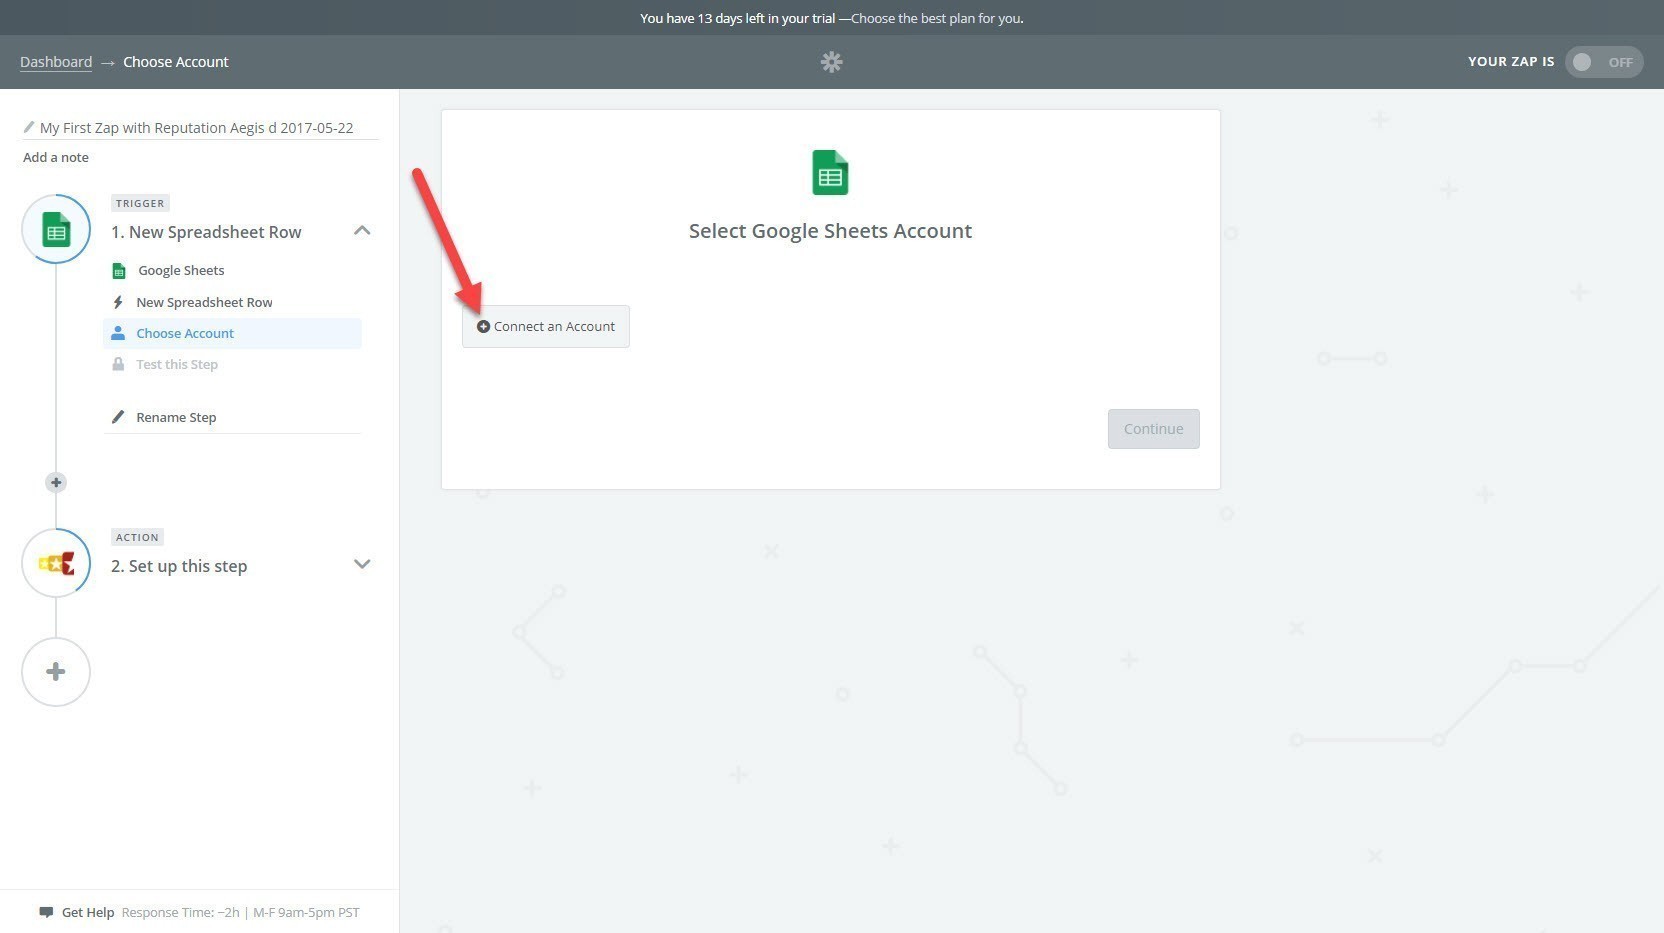
Zapier will open a popup window, click your Google Account.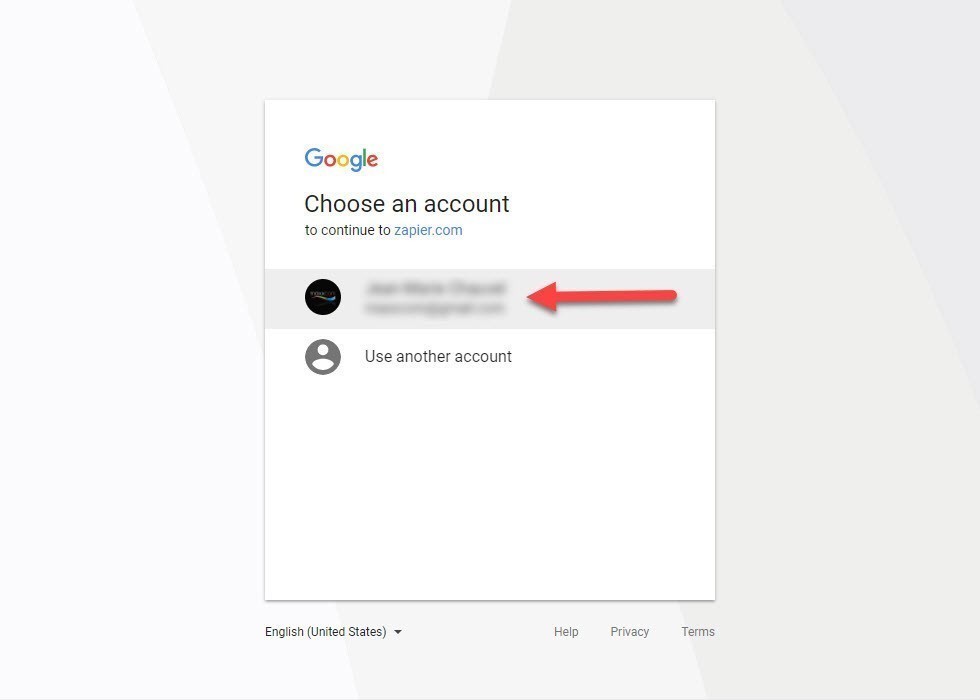
Click the Allow button: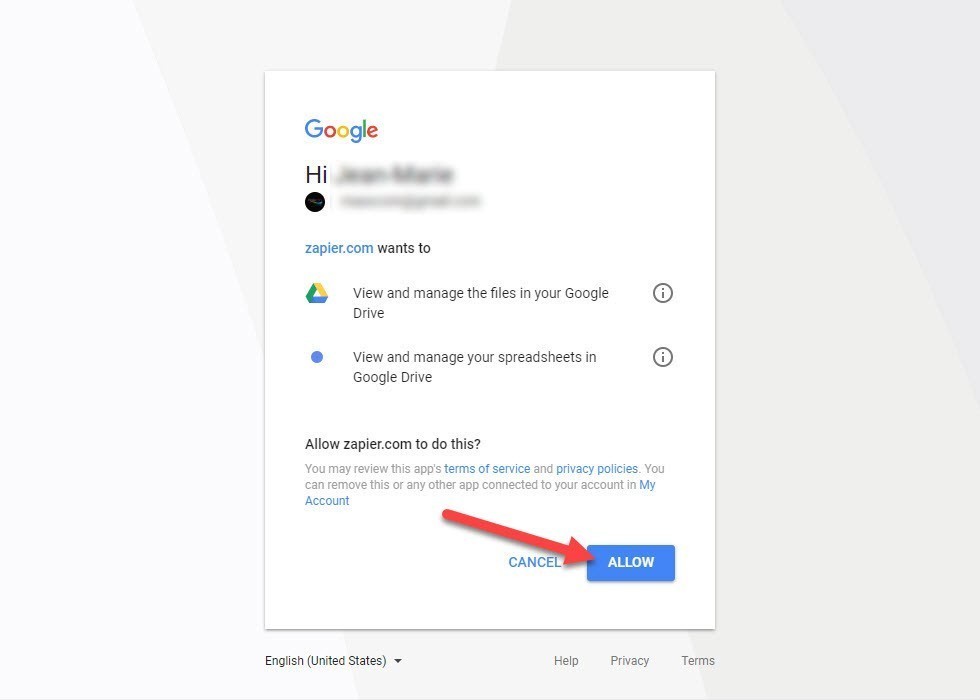
Click the Test button and then click the Save + Continue button.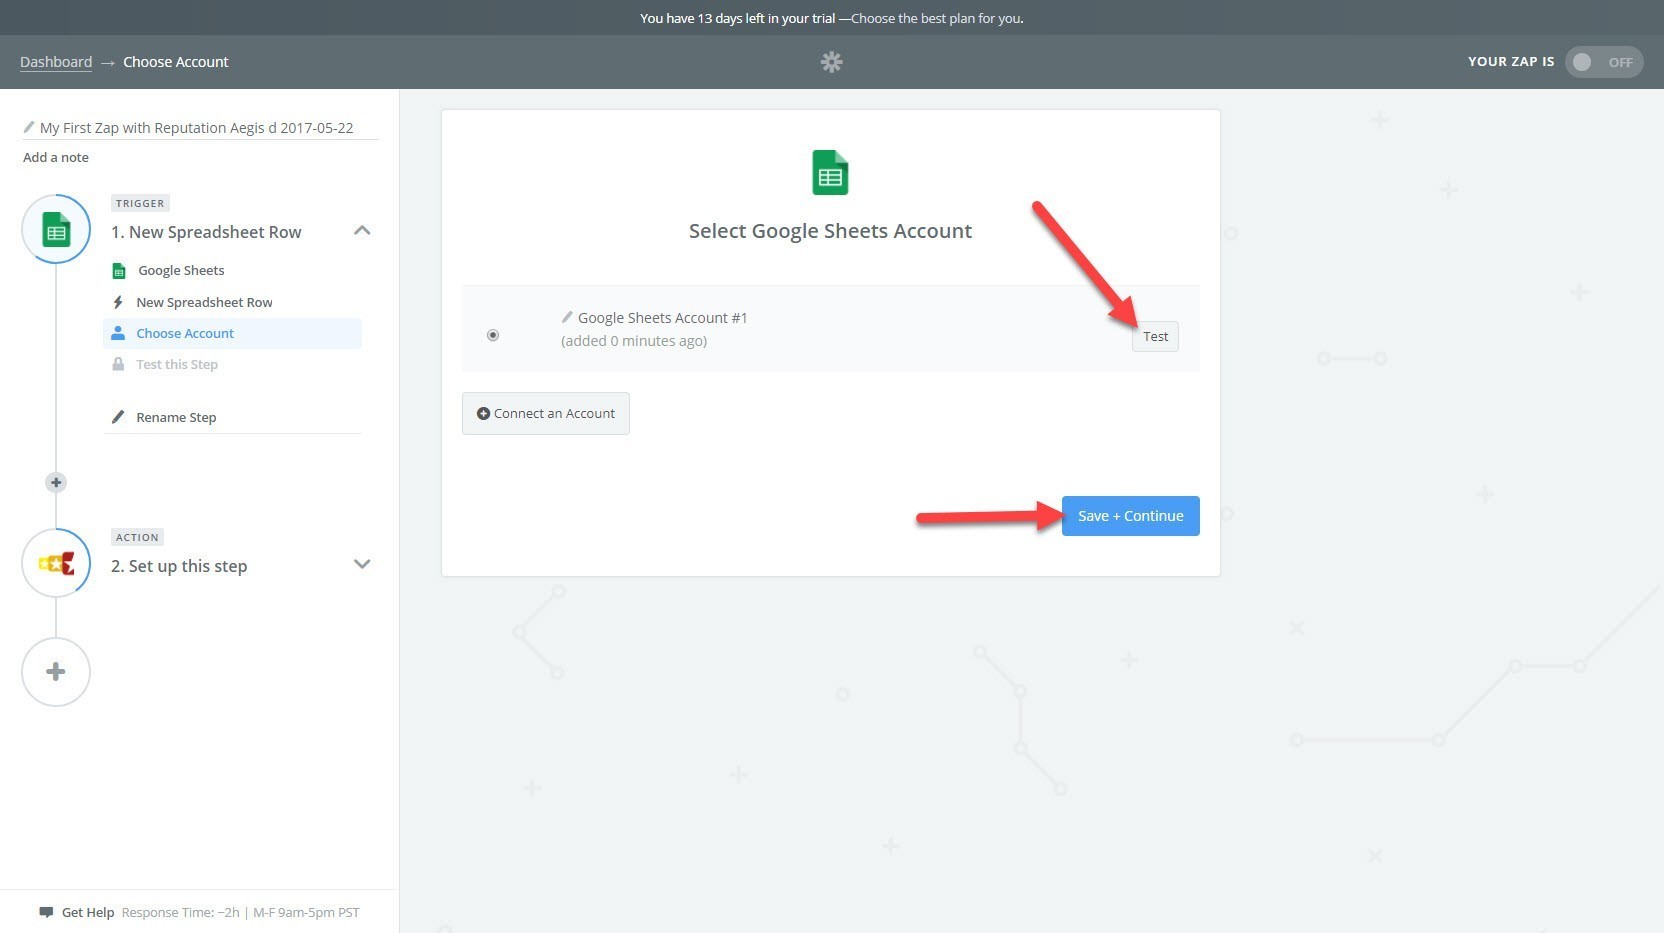
Select the spreadsheet you have created in Google Sheets.
Click the dropdown icon at the right and, in the dropdown list, select the spreadsheet.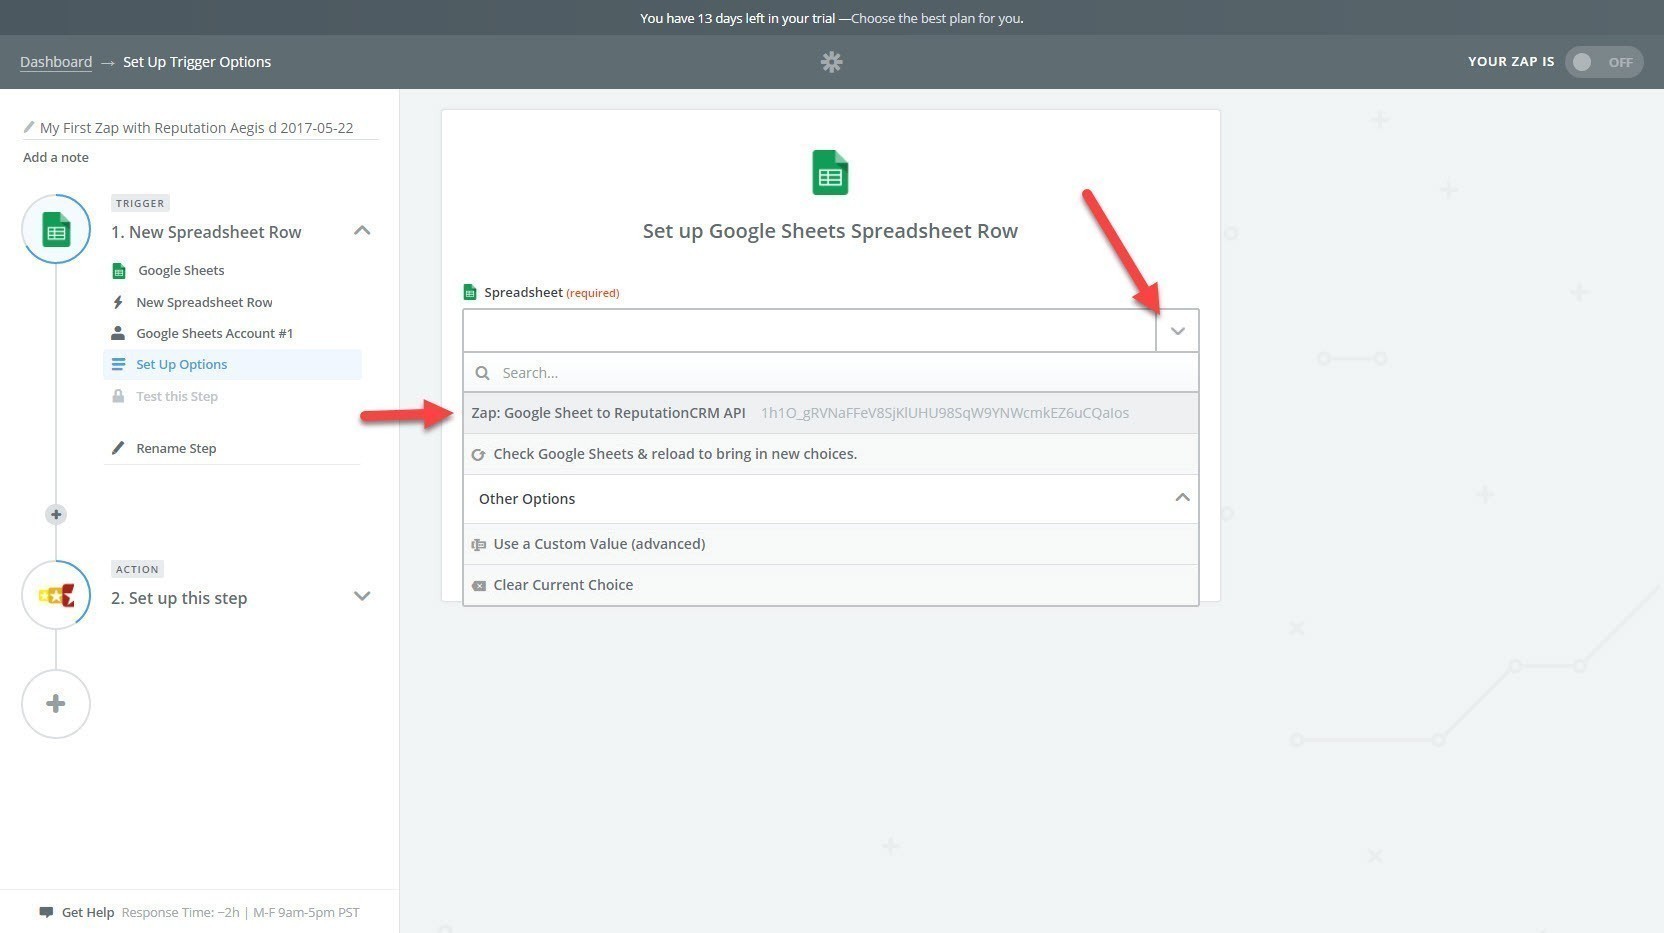
Select the Worksheet.
Click the dropdown icon at the right and, in the dropdown list, select: Sheet1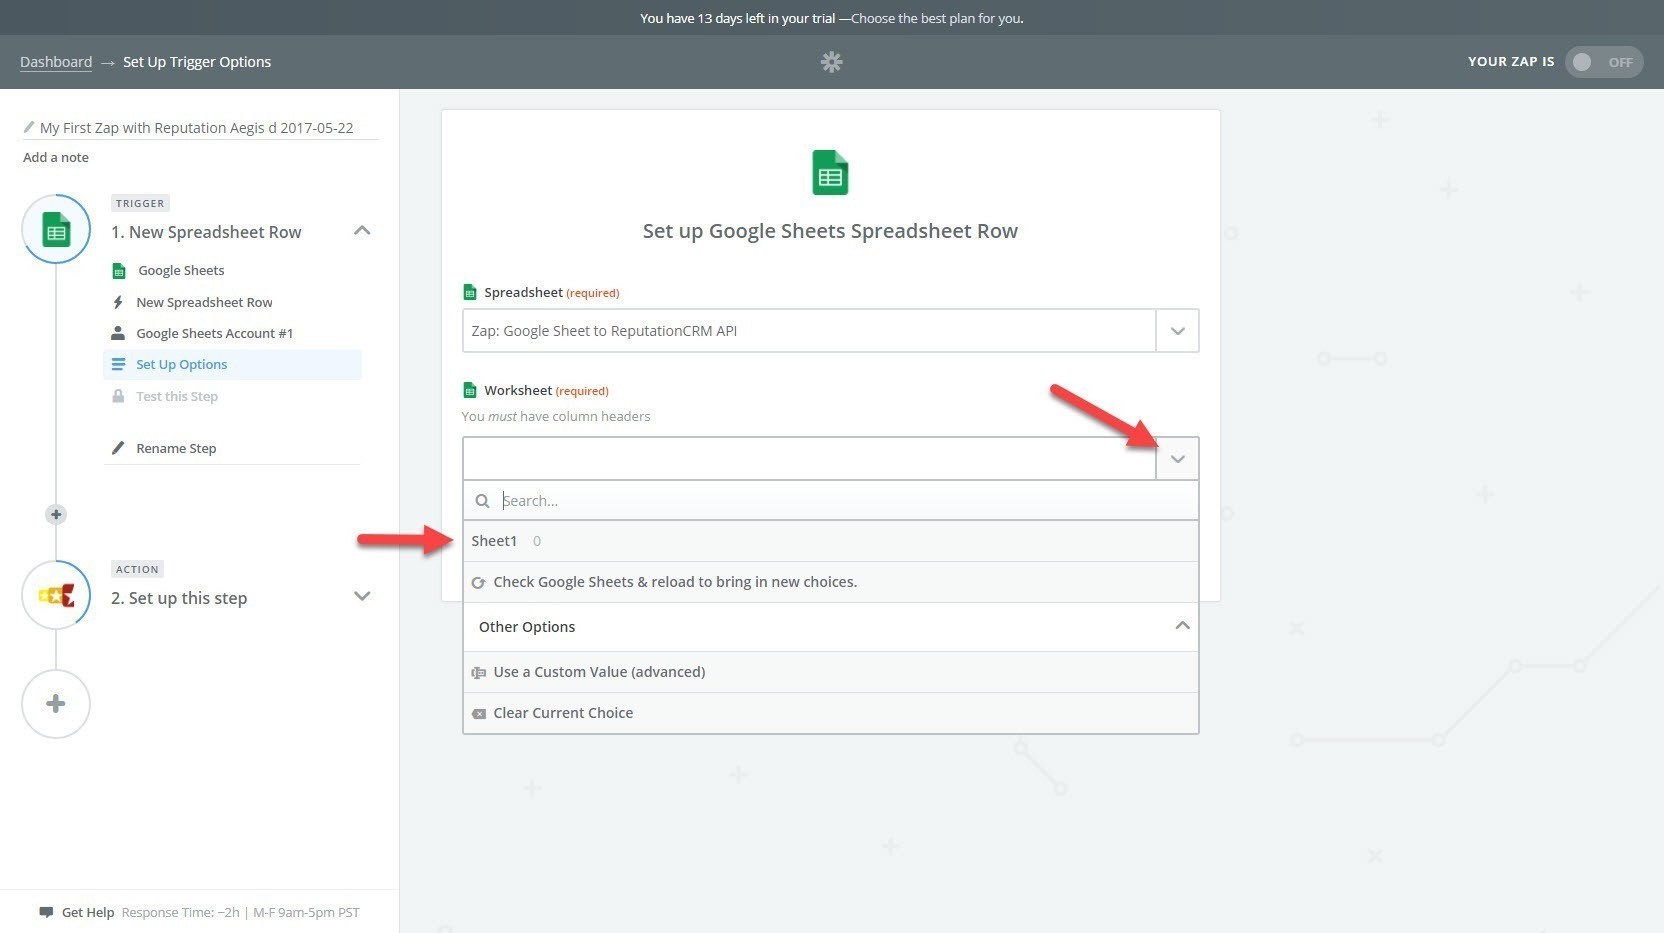
Click the Continue button: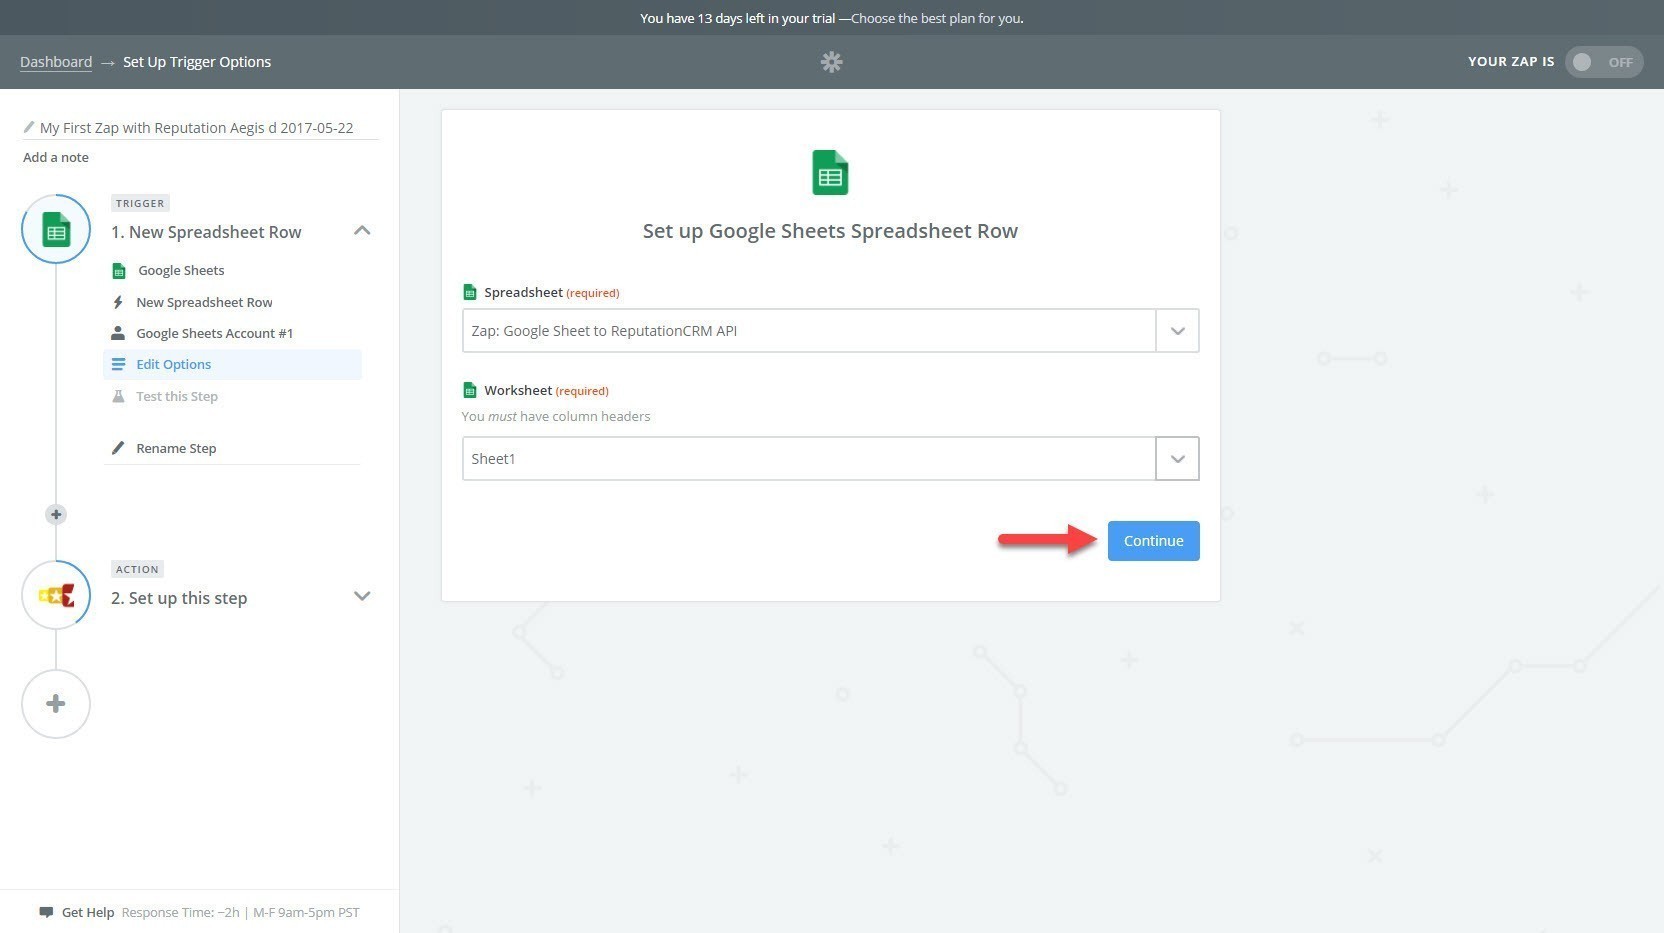
Check if everything is working as it should. Click the Fetch & Continue button: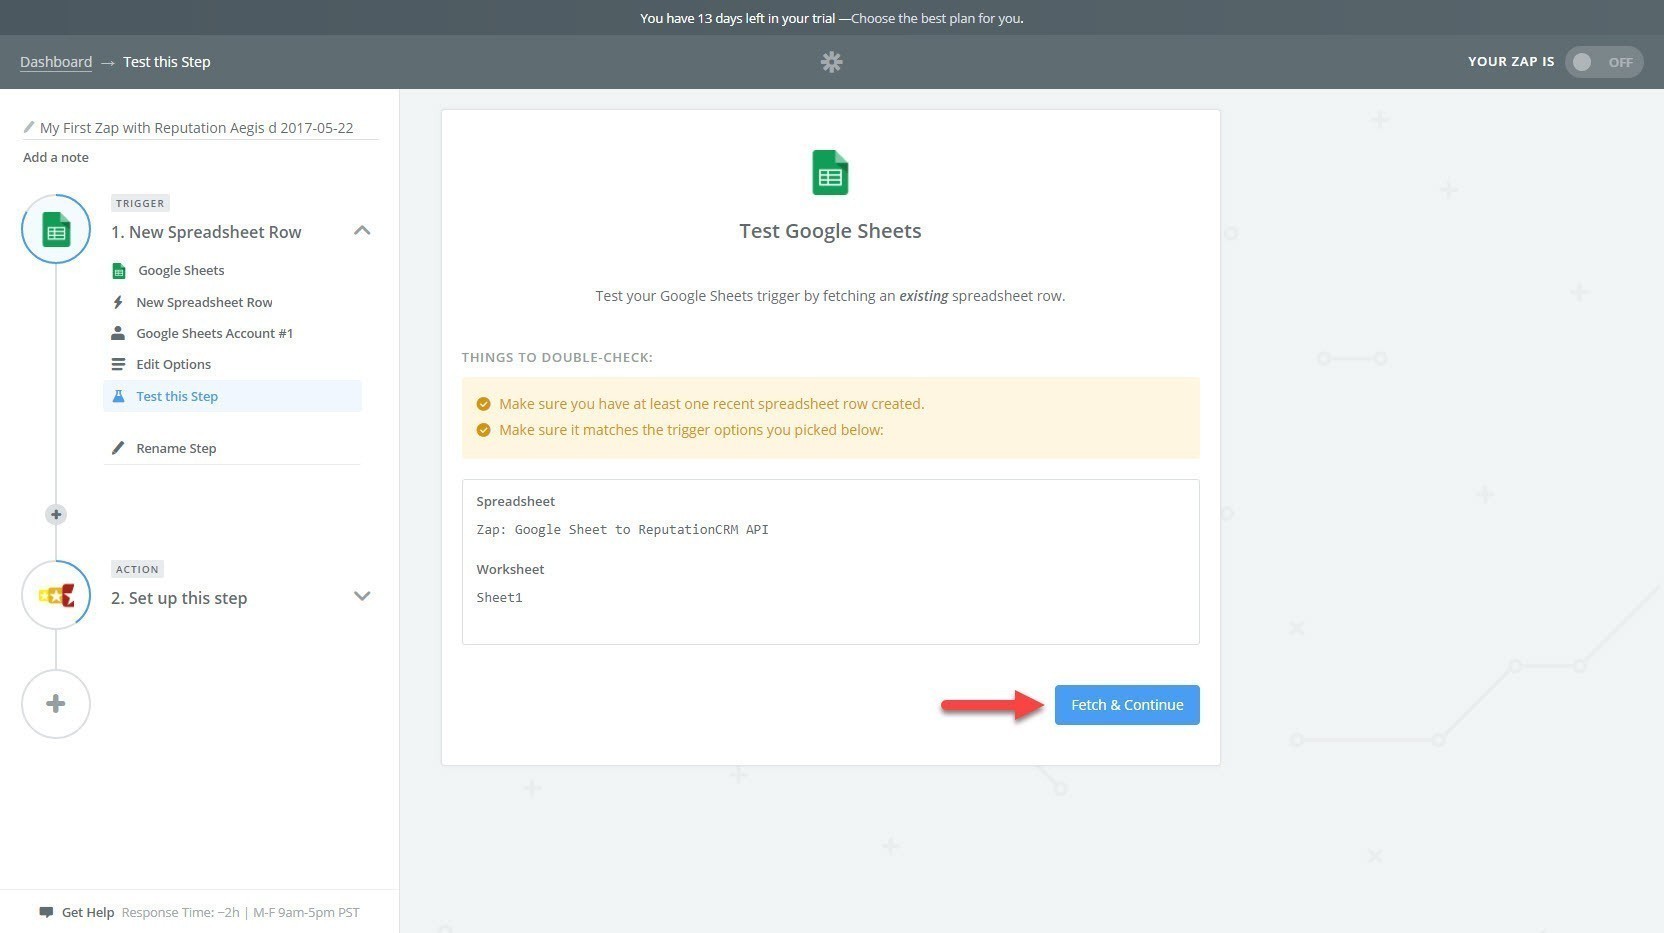
If you see the Test Sucessful! message, then you are good to go! Click the Continue button: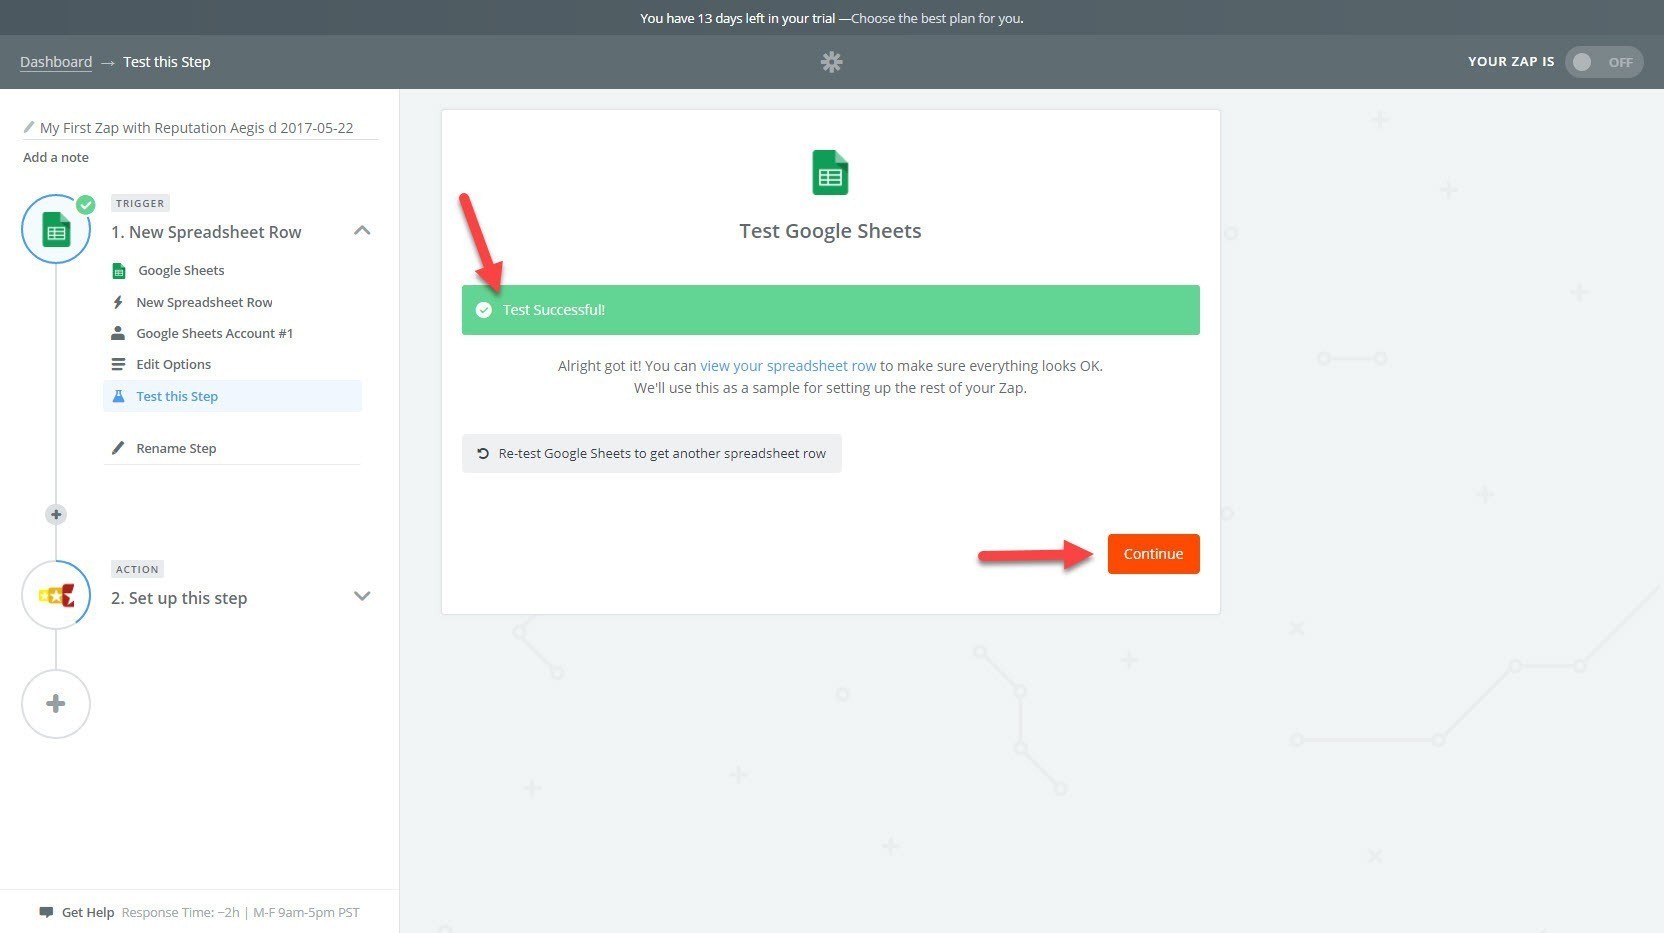
Configure the Reputation CRM API Action Application. Click the Reputation Aegis Application button: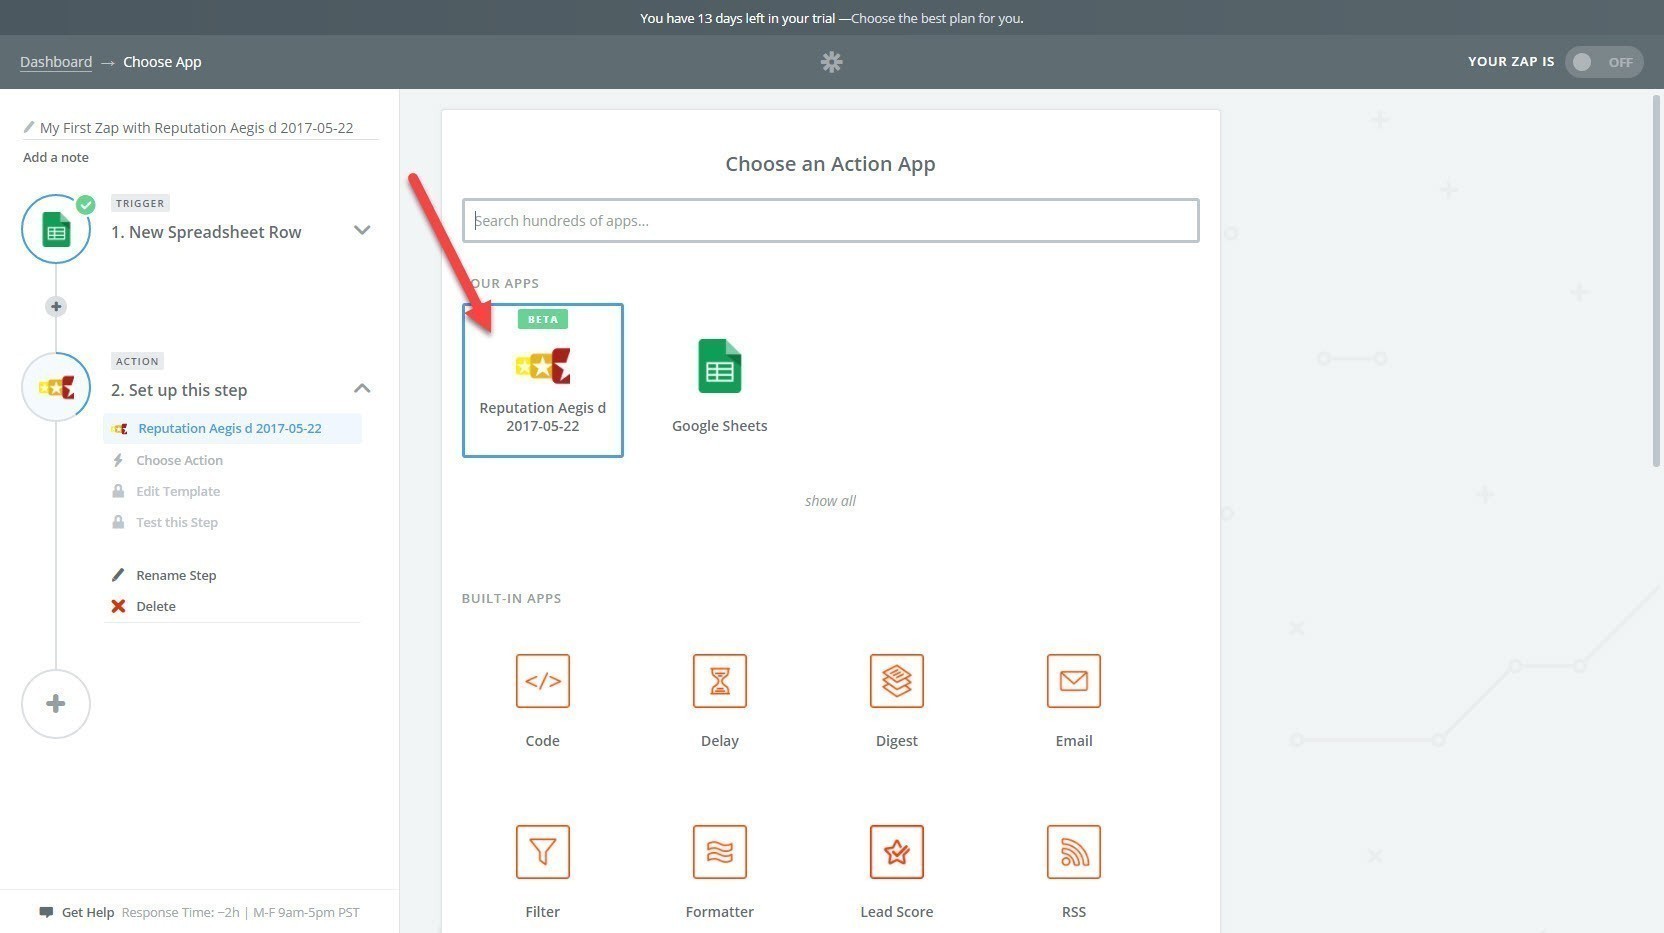
Select the Action: Create a Customer & an Automatic Invitation Sequence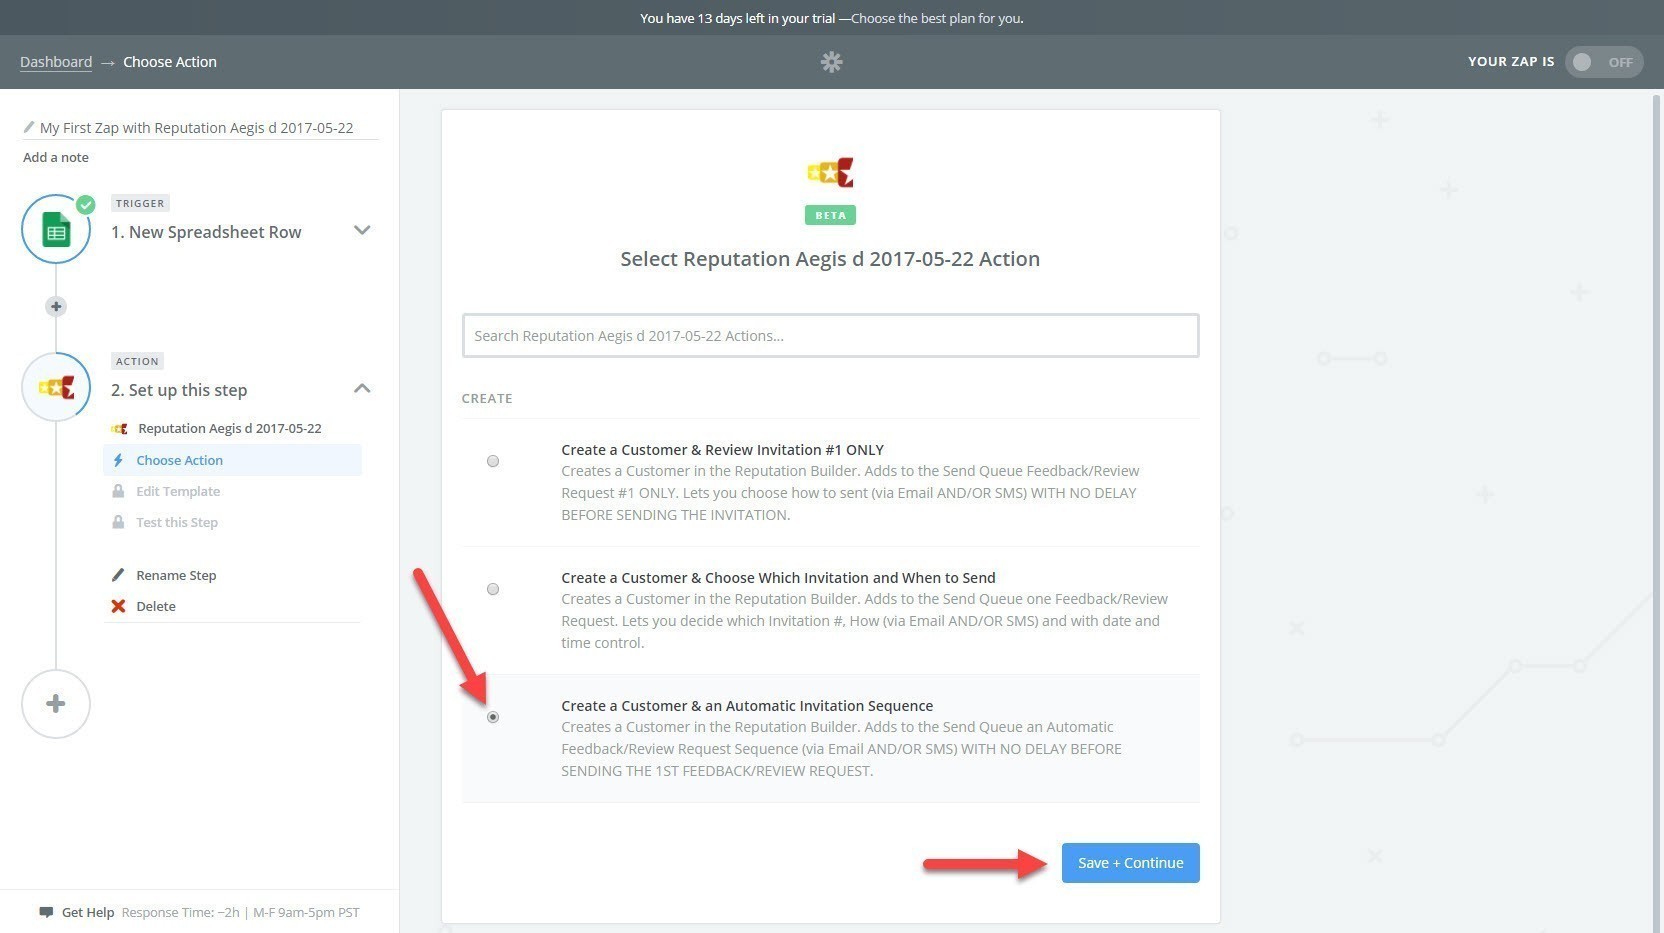
Click the Connect an Account button: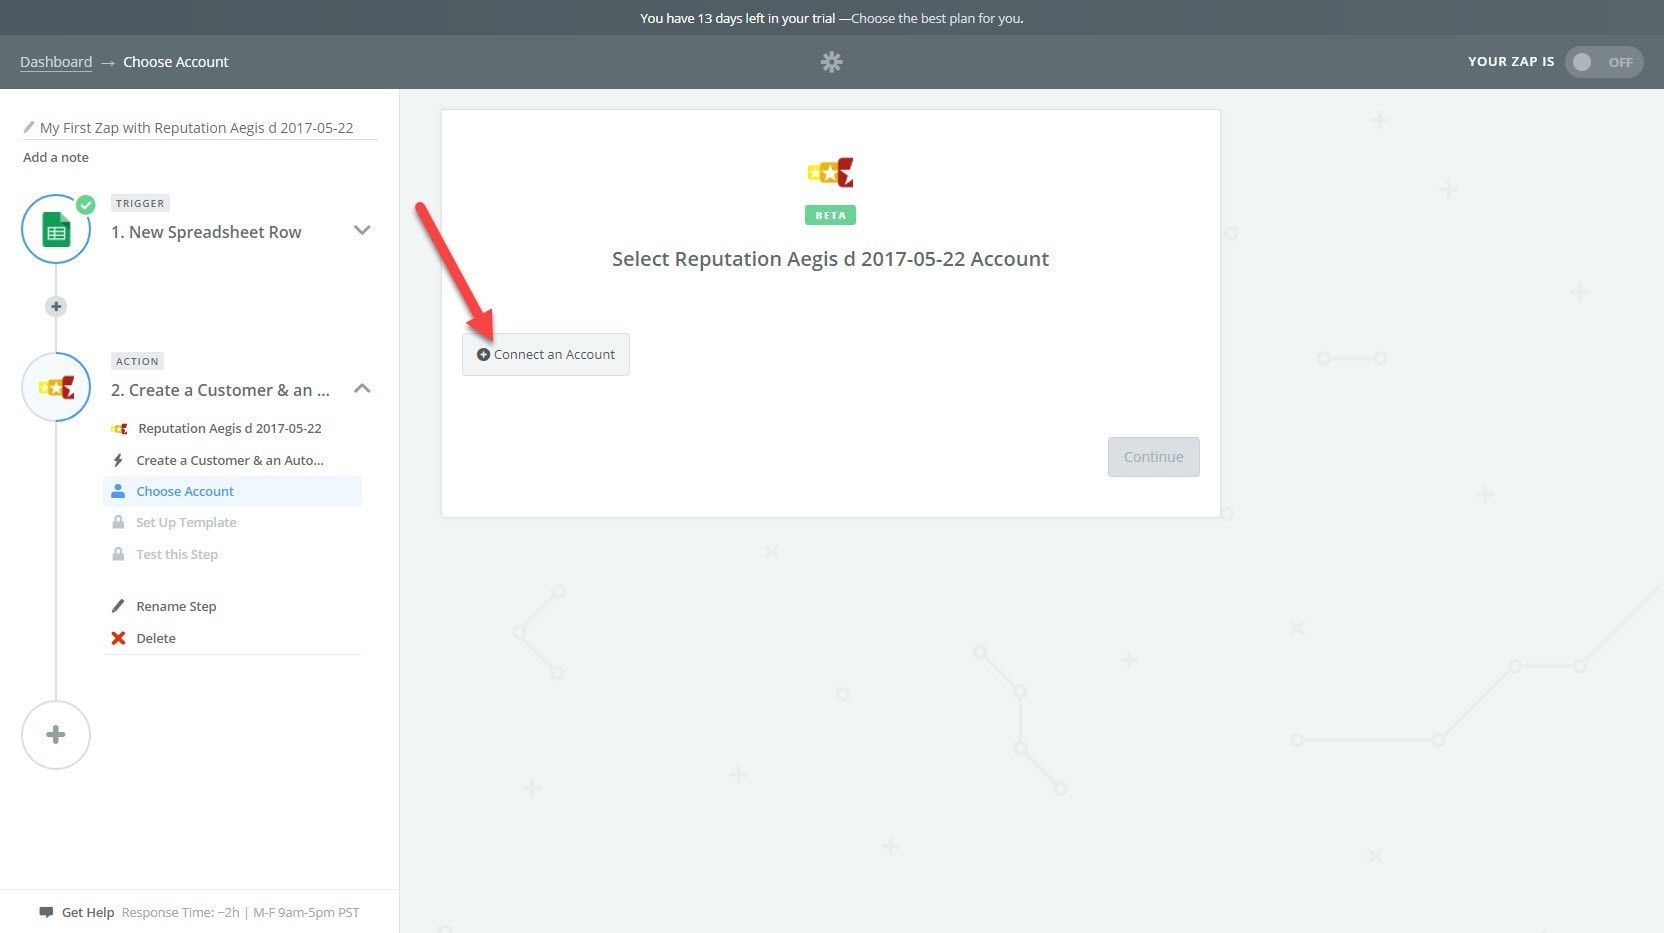
Zapier will open a new popup window and will request your API Key.
You can retrieve your API Key by clicking the Click Here link: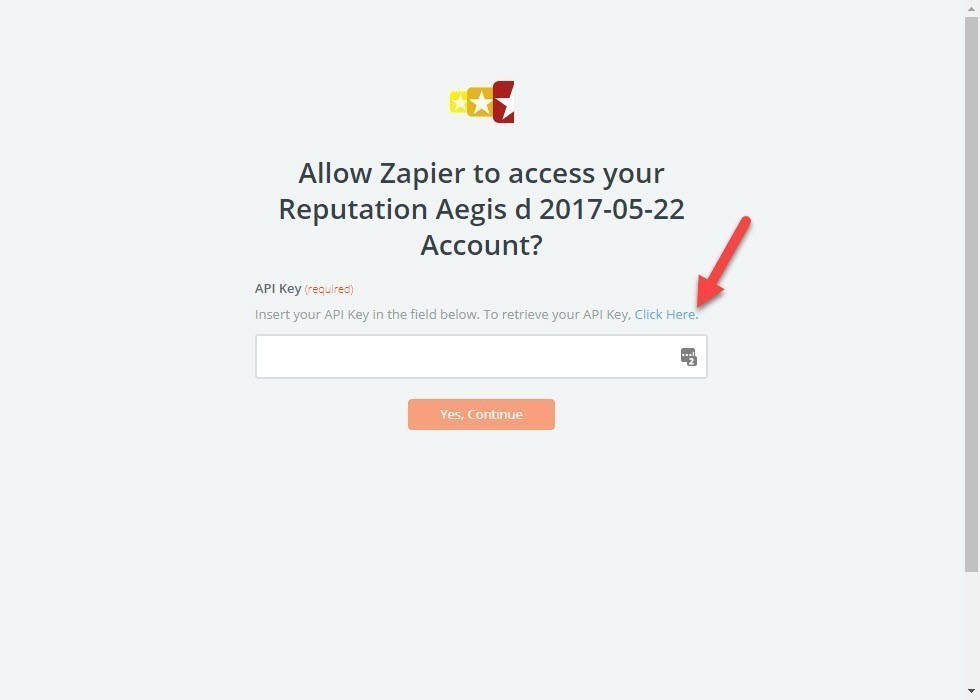
You will be taken to the Settings section of the Reputation Builder where you will have to copy your API Key to the clipboard: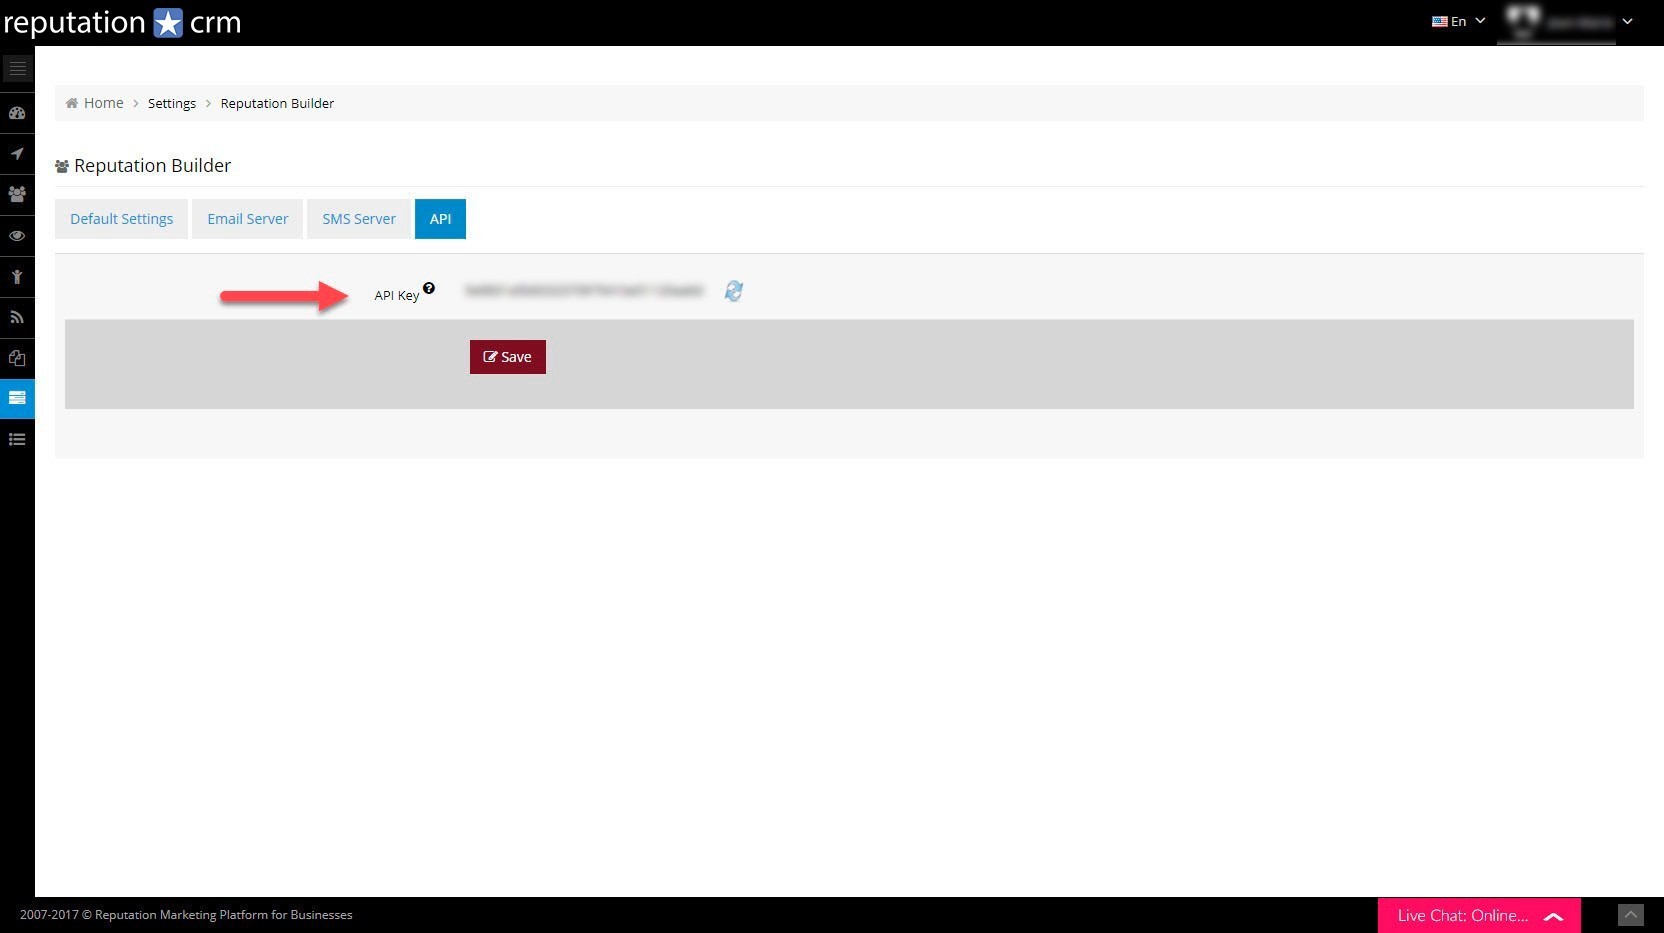
Go back to the Zapier popup window and paste your API Key from the clipboard to the API Key field.
Click the Yes, Continue button: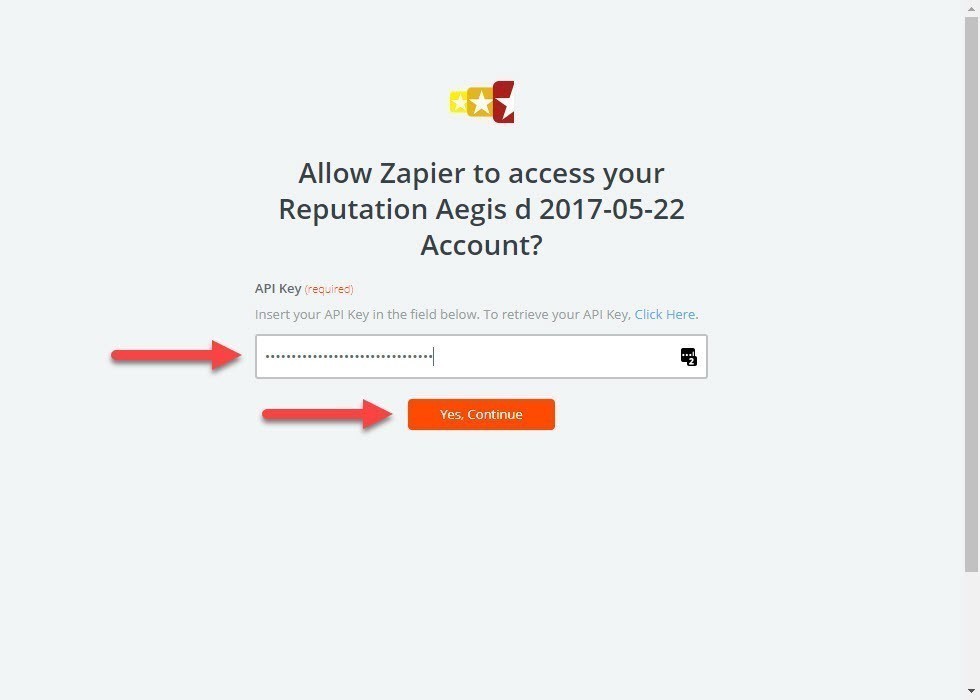
Go back to your Zapier window and click the Test button:
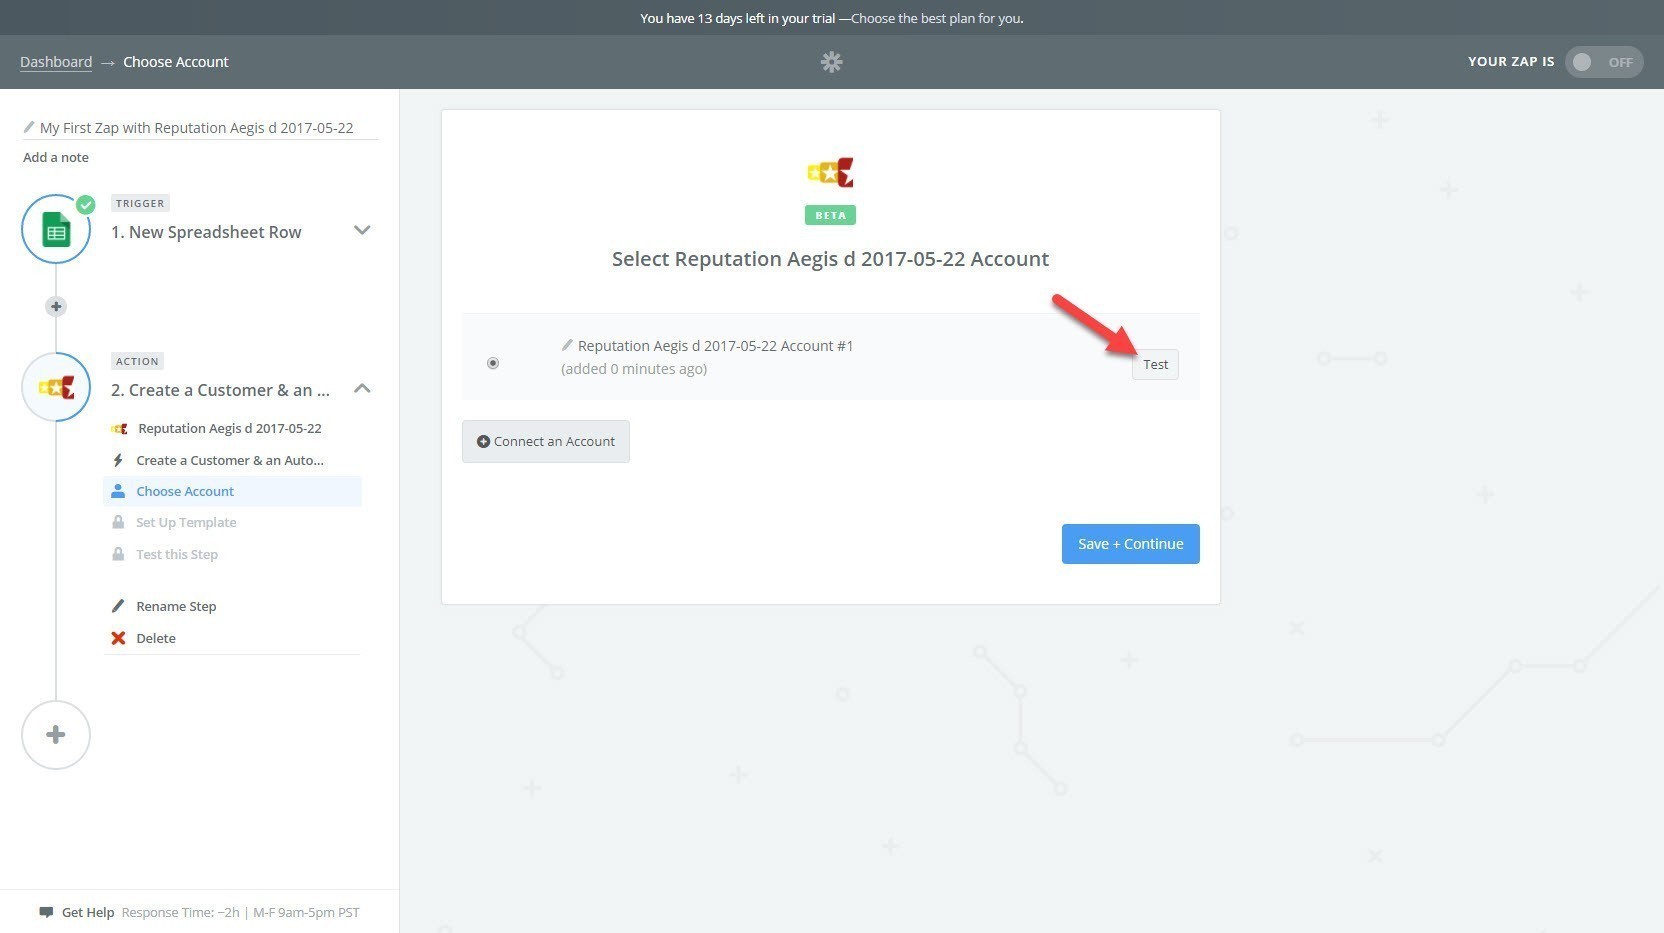
When you see the Sucess! message, it means that Reputation CRM recognized your API Key and that the Reputation CRM API is now linked to your Zap (but you still have a bit more settings to go through before you are completely done!).
Click the Save + Continue button: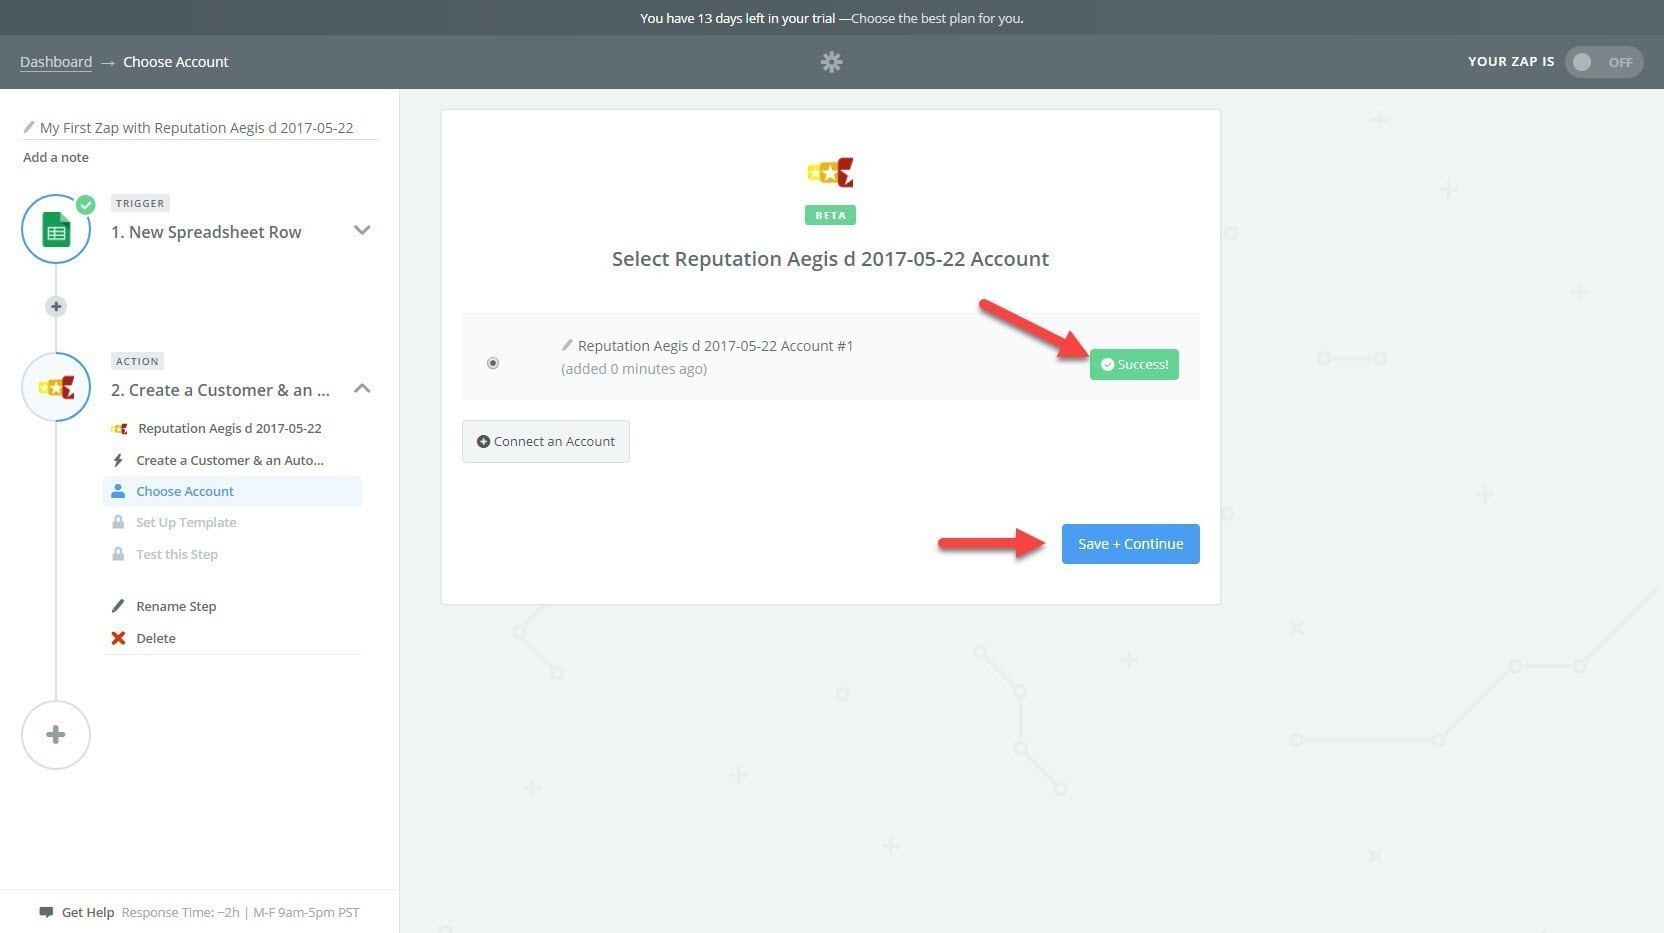
Company ID
You now need to tell Reputation CRM which Company / Location should the new Customer be created for.
You can view the list of all your Companies / Locations by clicking the Click Here link: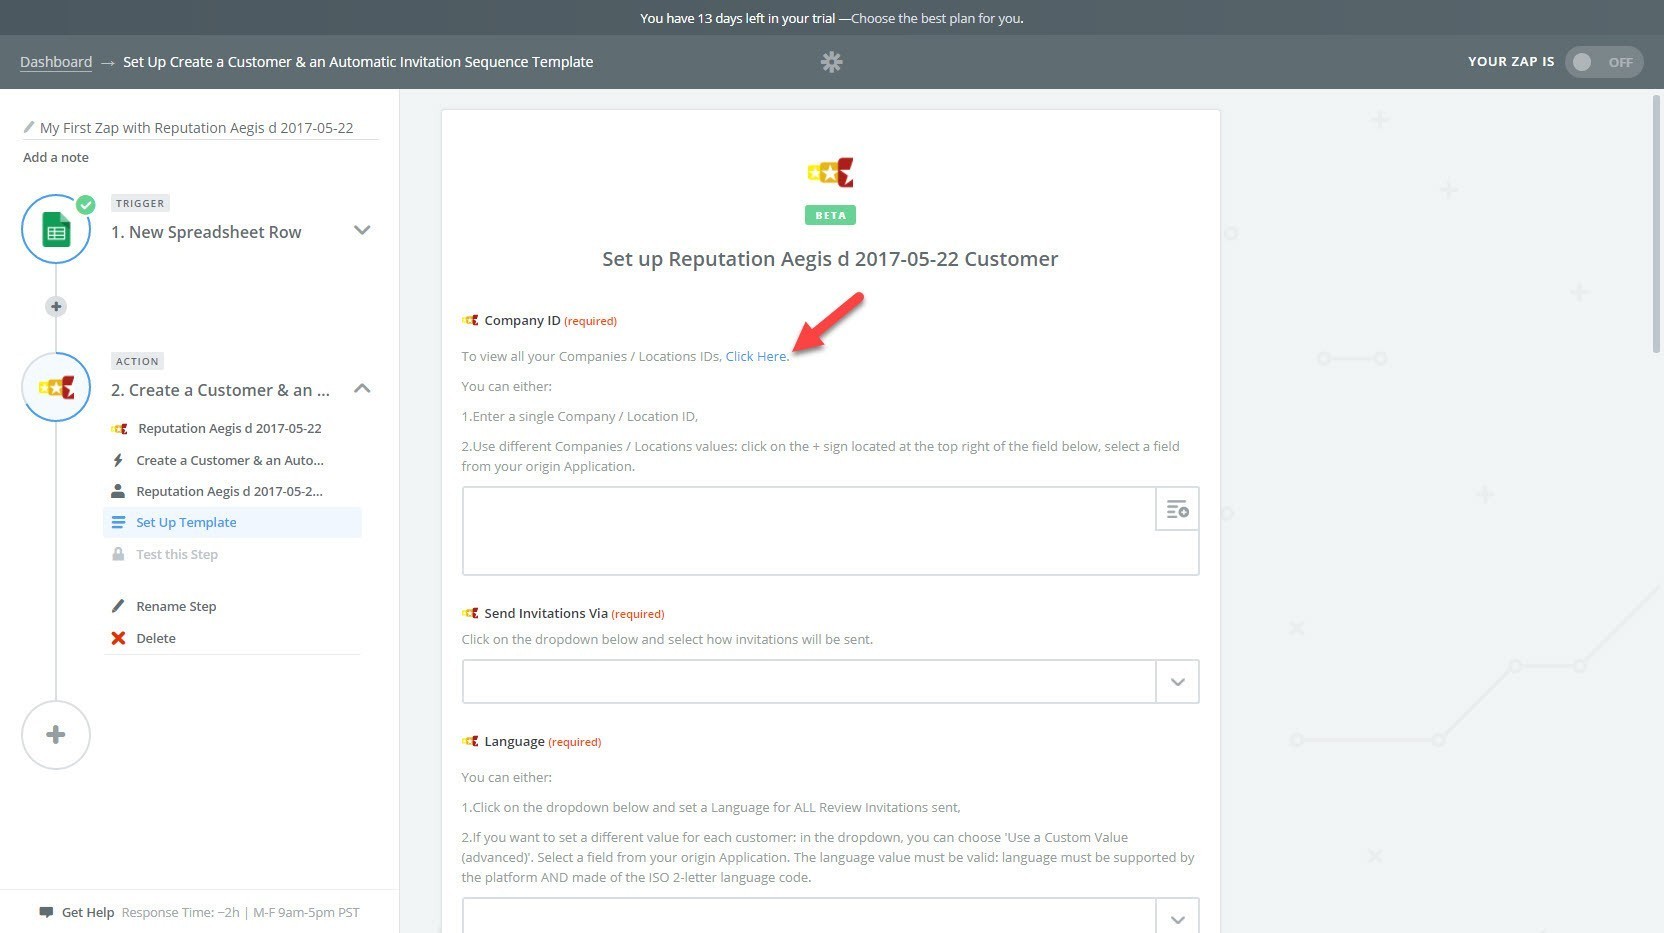
In the Companies / Locations datatable of Reputation CRM, copy the Company ID: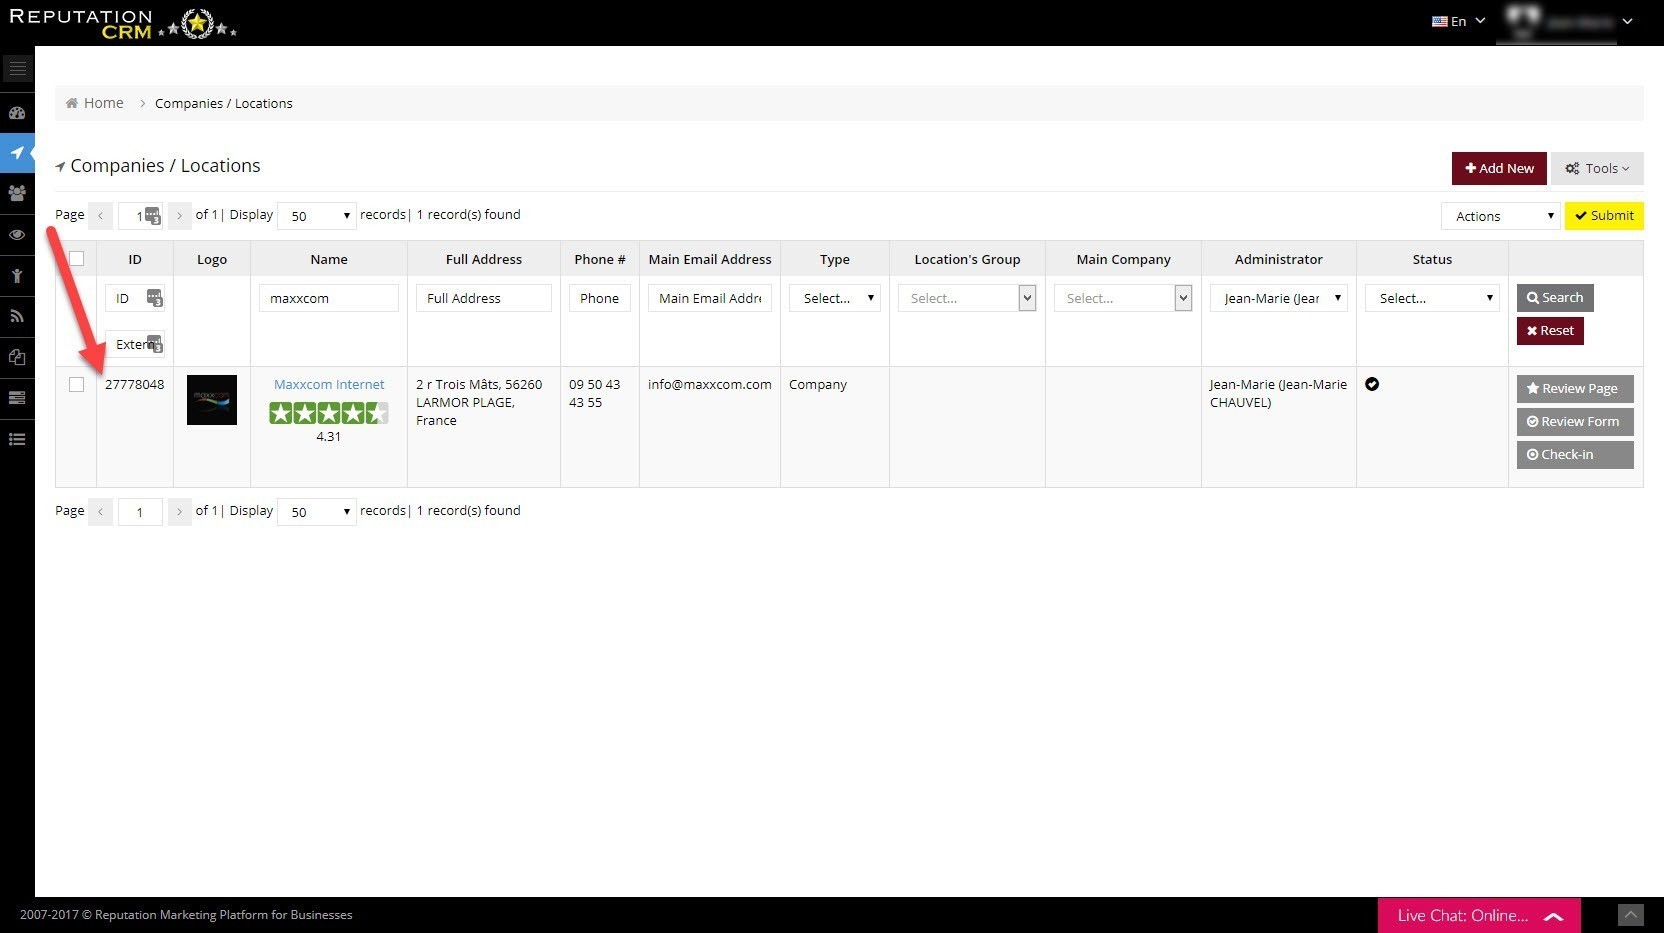
Go back to Zapier and paste the Company / Location ID as described below: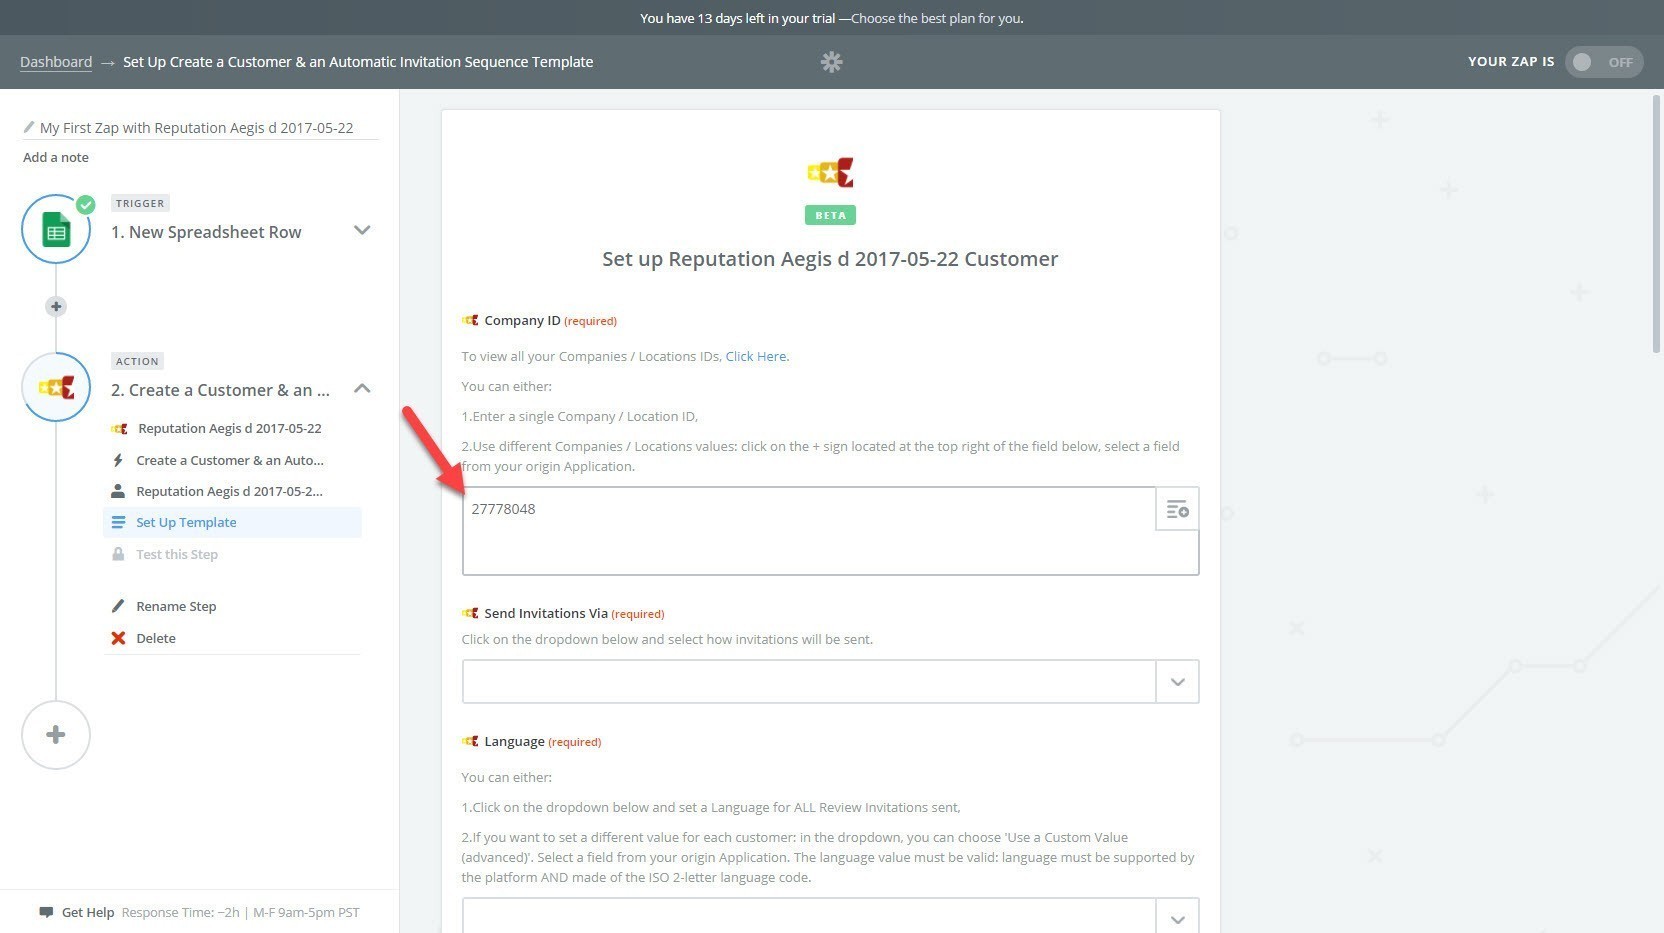
NOTE: Now you will be mapping all the fields of the Google Sheet to the Reputation CRM Application.
Send Invitations Via
Click the dropdown icon at the right and, in the dropdown list, select a sending method.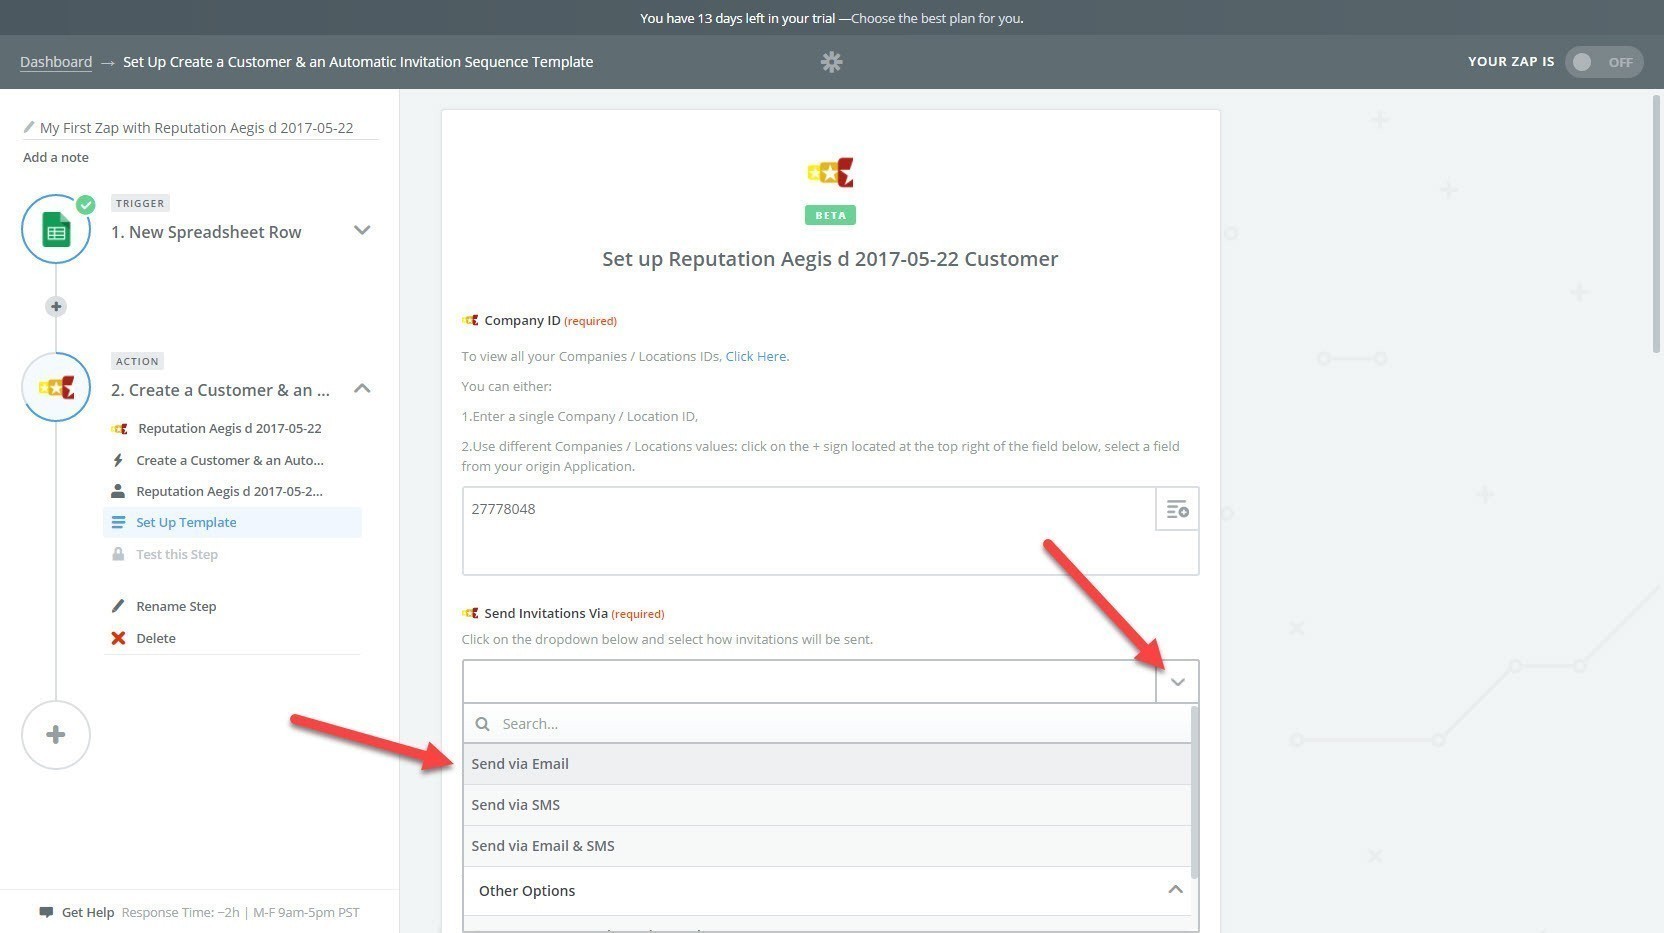
Language
Click the dropdown icon at the right and, in the dropdown list, select a language for review invitations.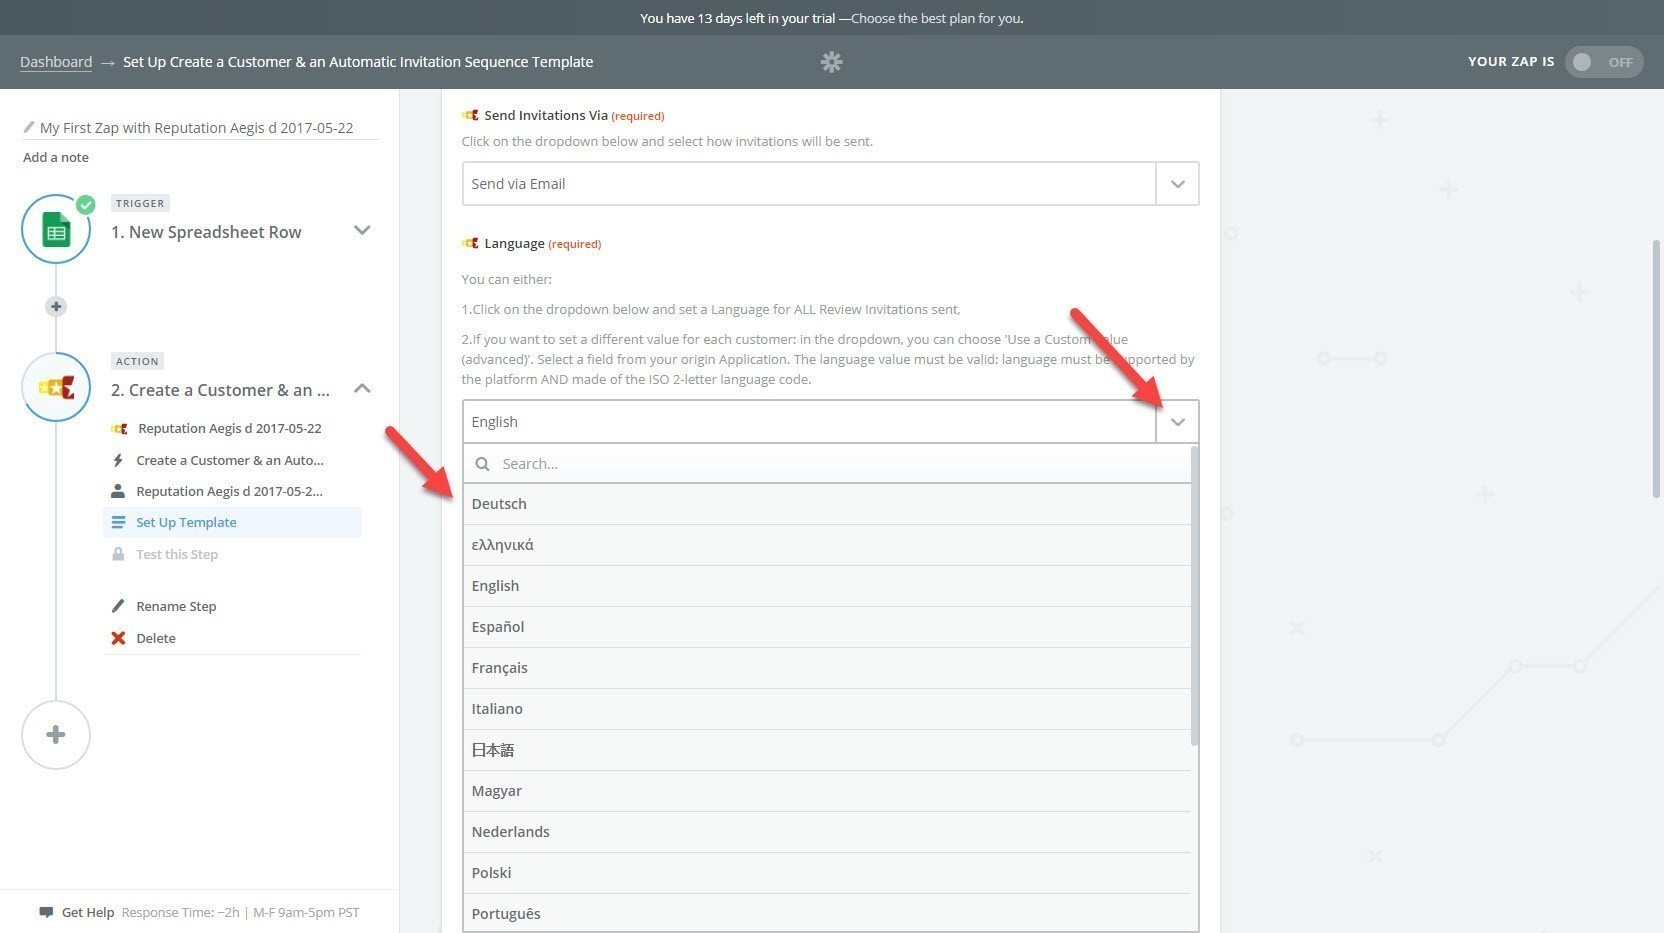
Customer First Name
Click the dropdown icon at the right and, in the dropdown list, select: First Name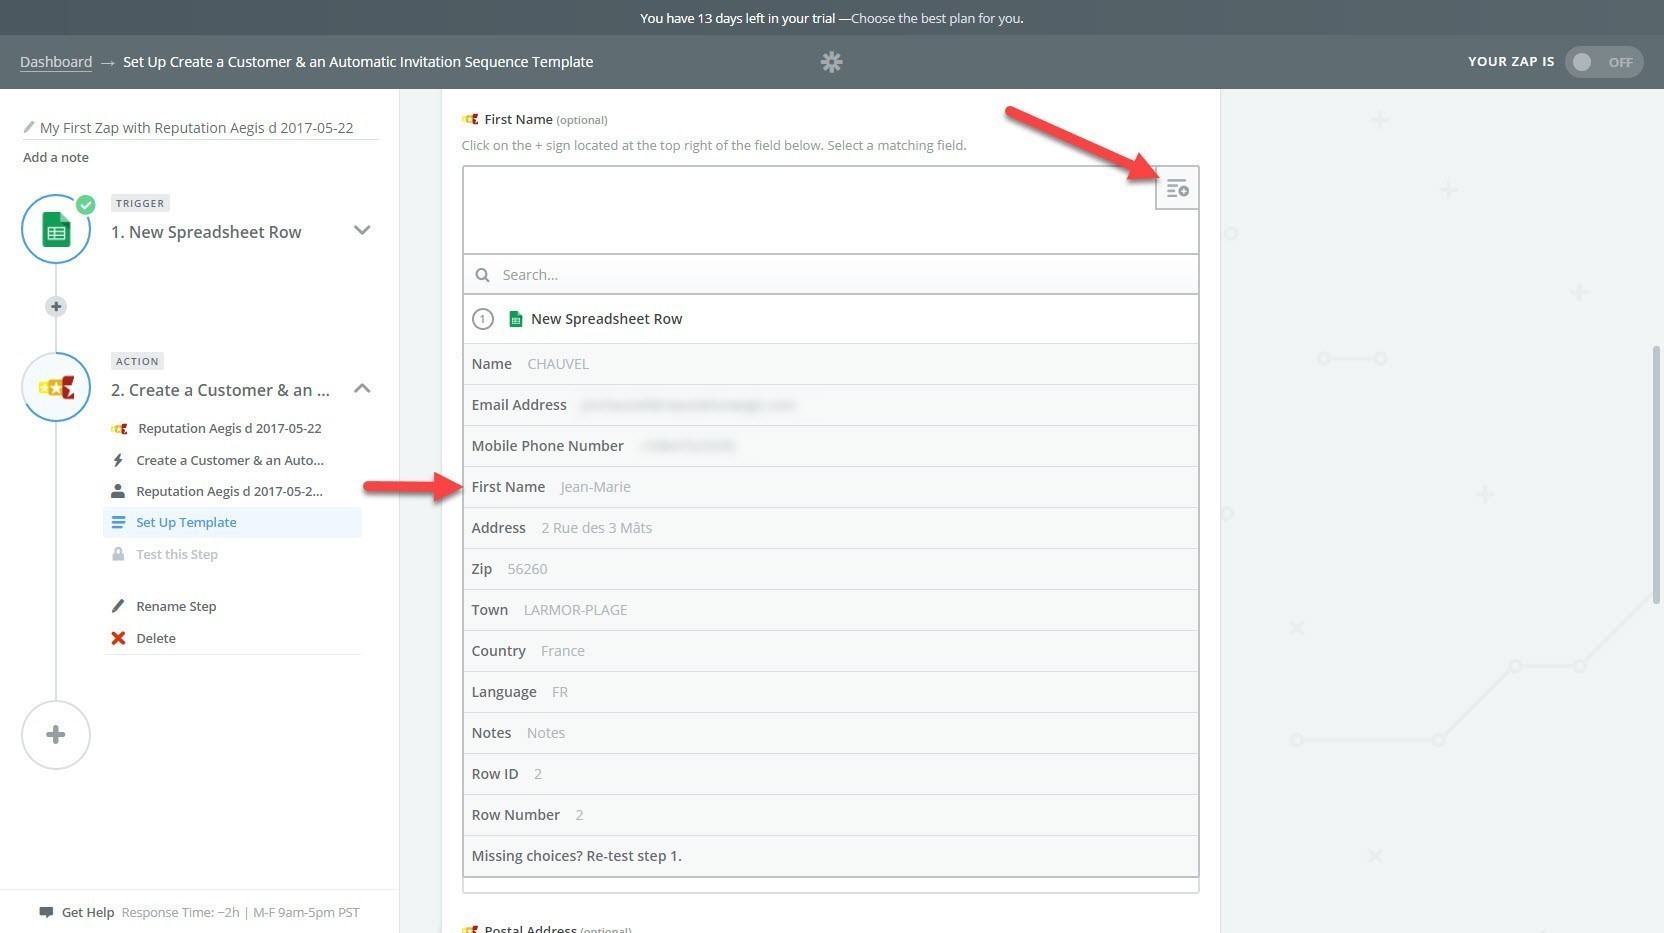
Customer Last Name
Click the dropdown icon at the right and, in the dropdown list, select: Name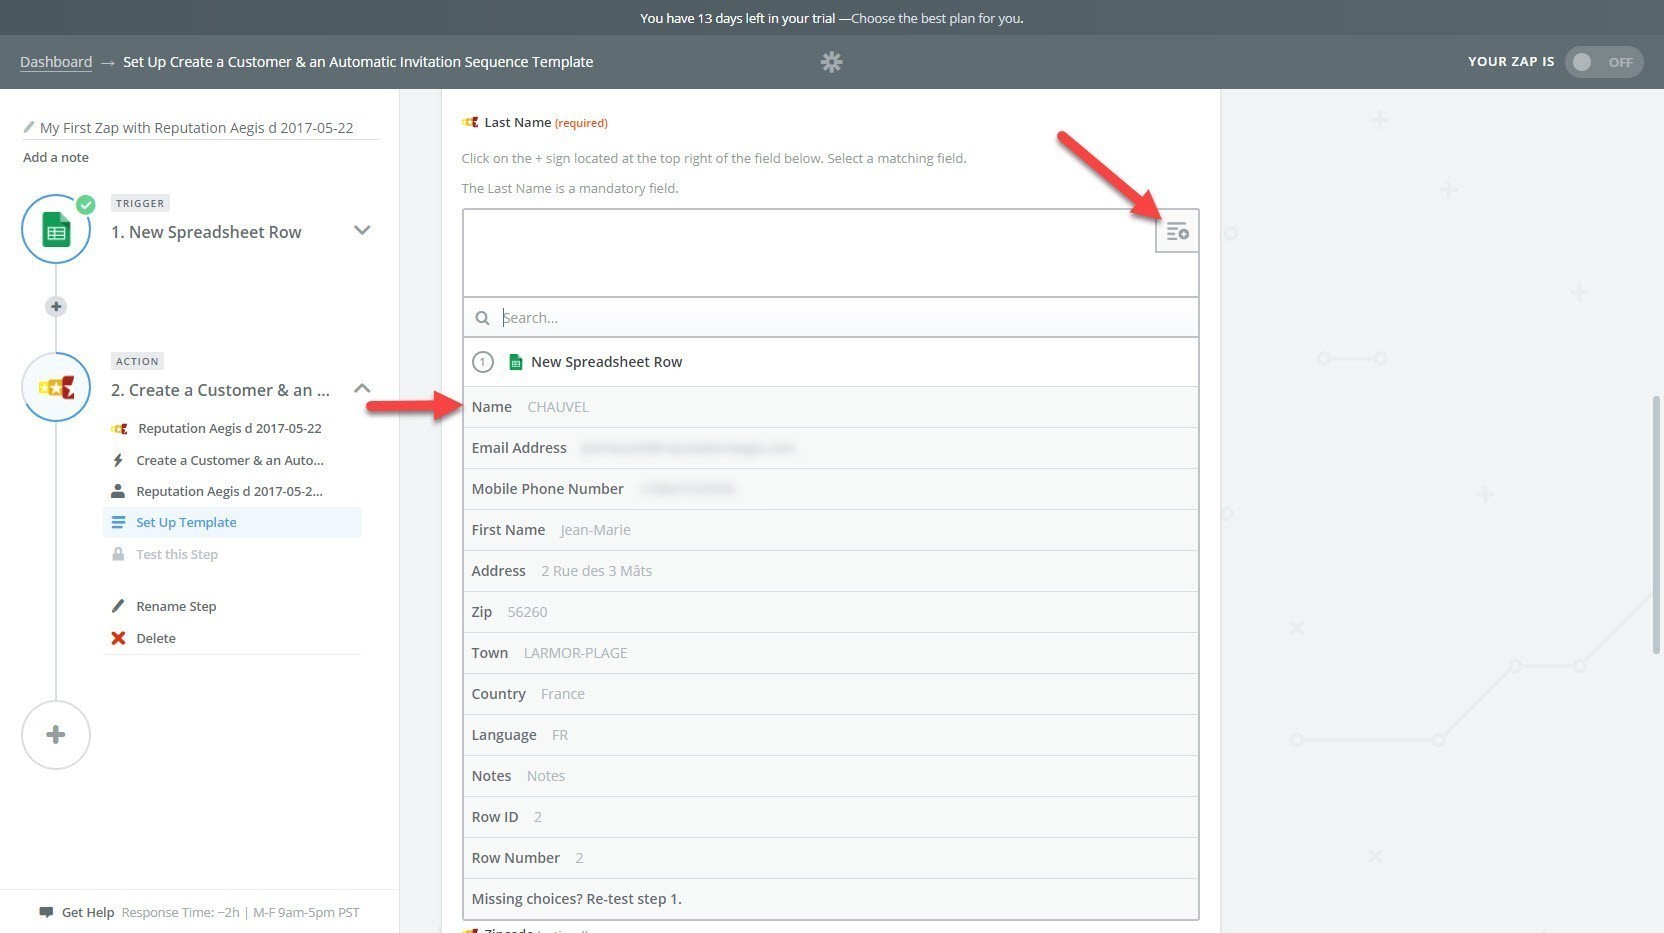
Email Address
Click the dropdown icon at the right and, in the dropdown list, select: Email Address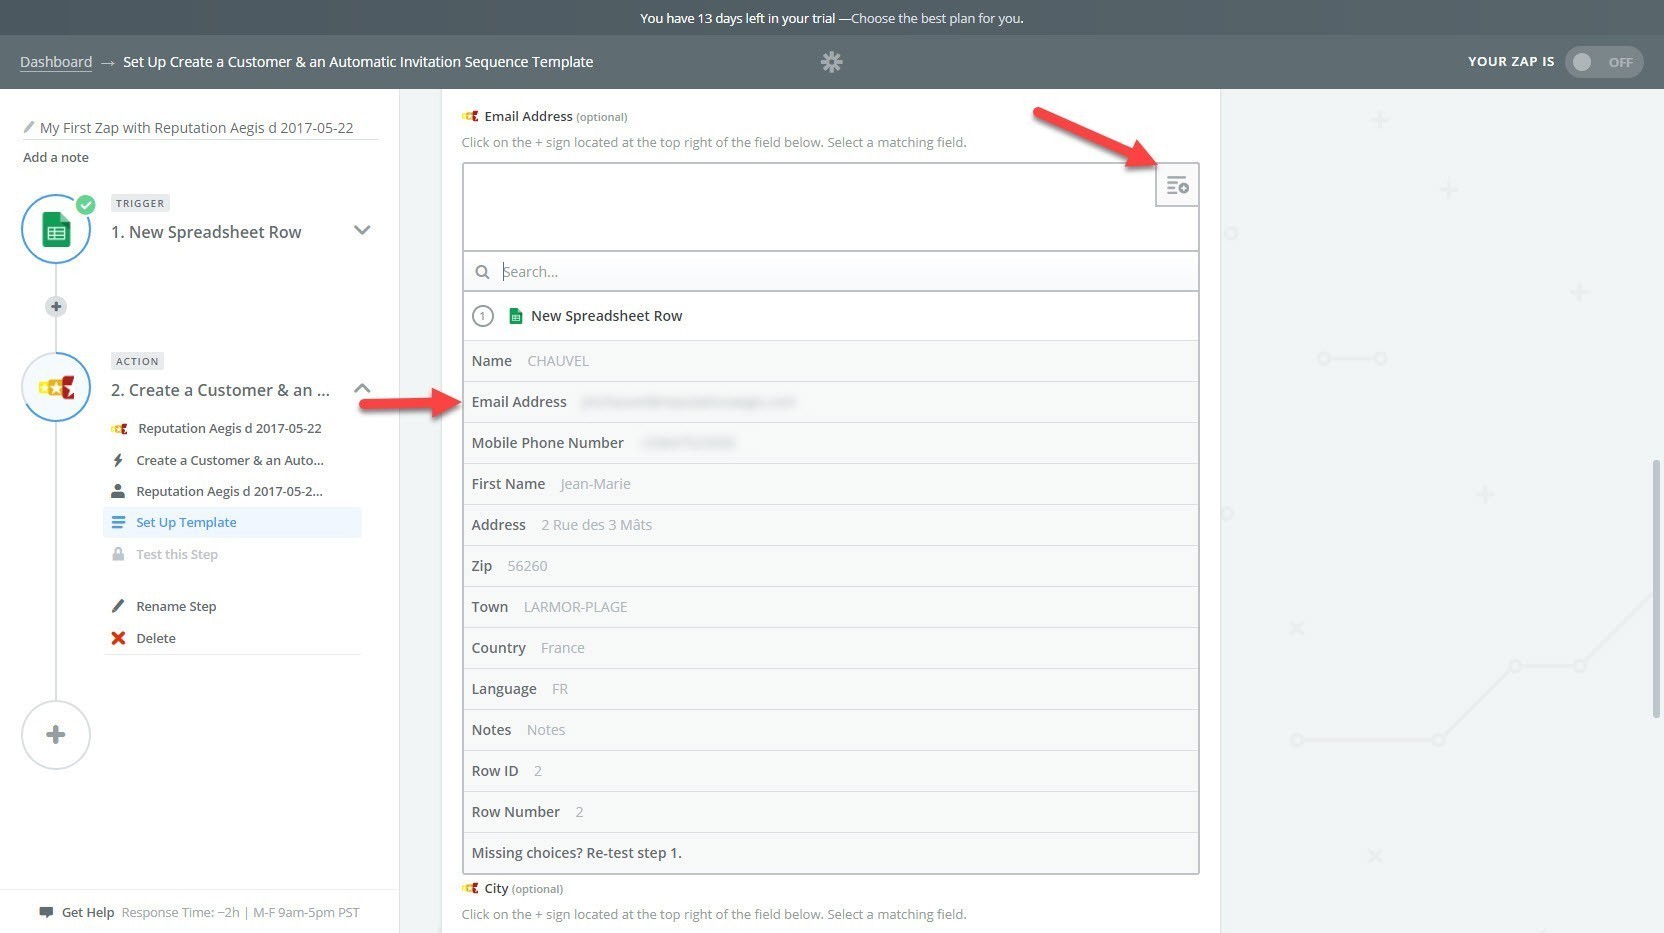
Mobile Phone #
Click the dropdown icon at the right and, in the dropdown list, select: Mobile Phone Number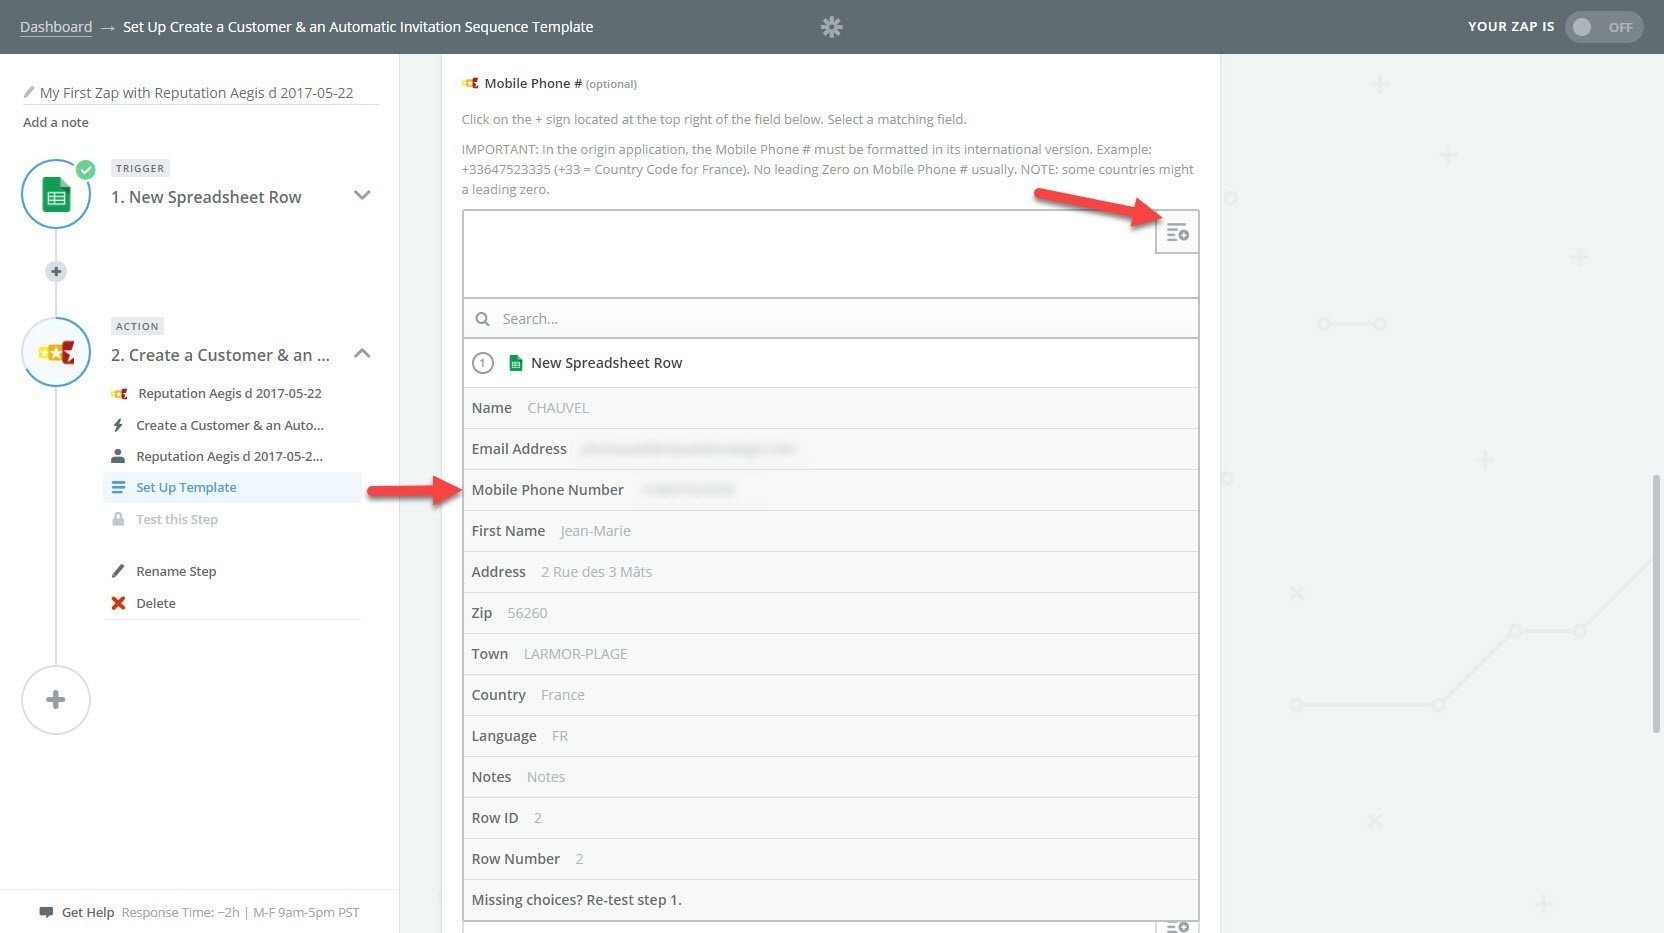
Postal Address
Click the dropdown icon at the right and, in the dropdown list, select: Address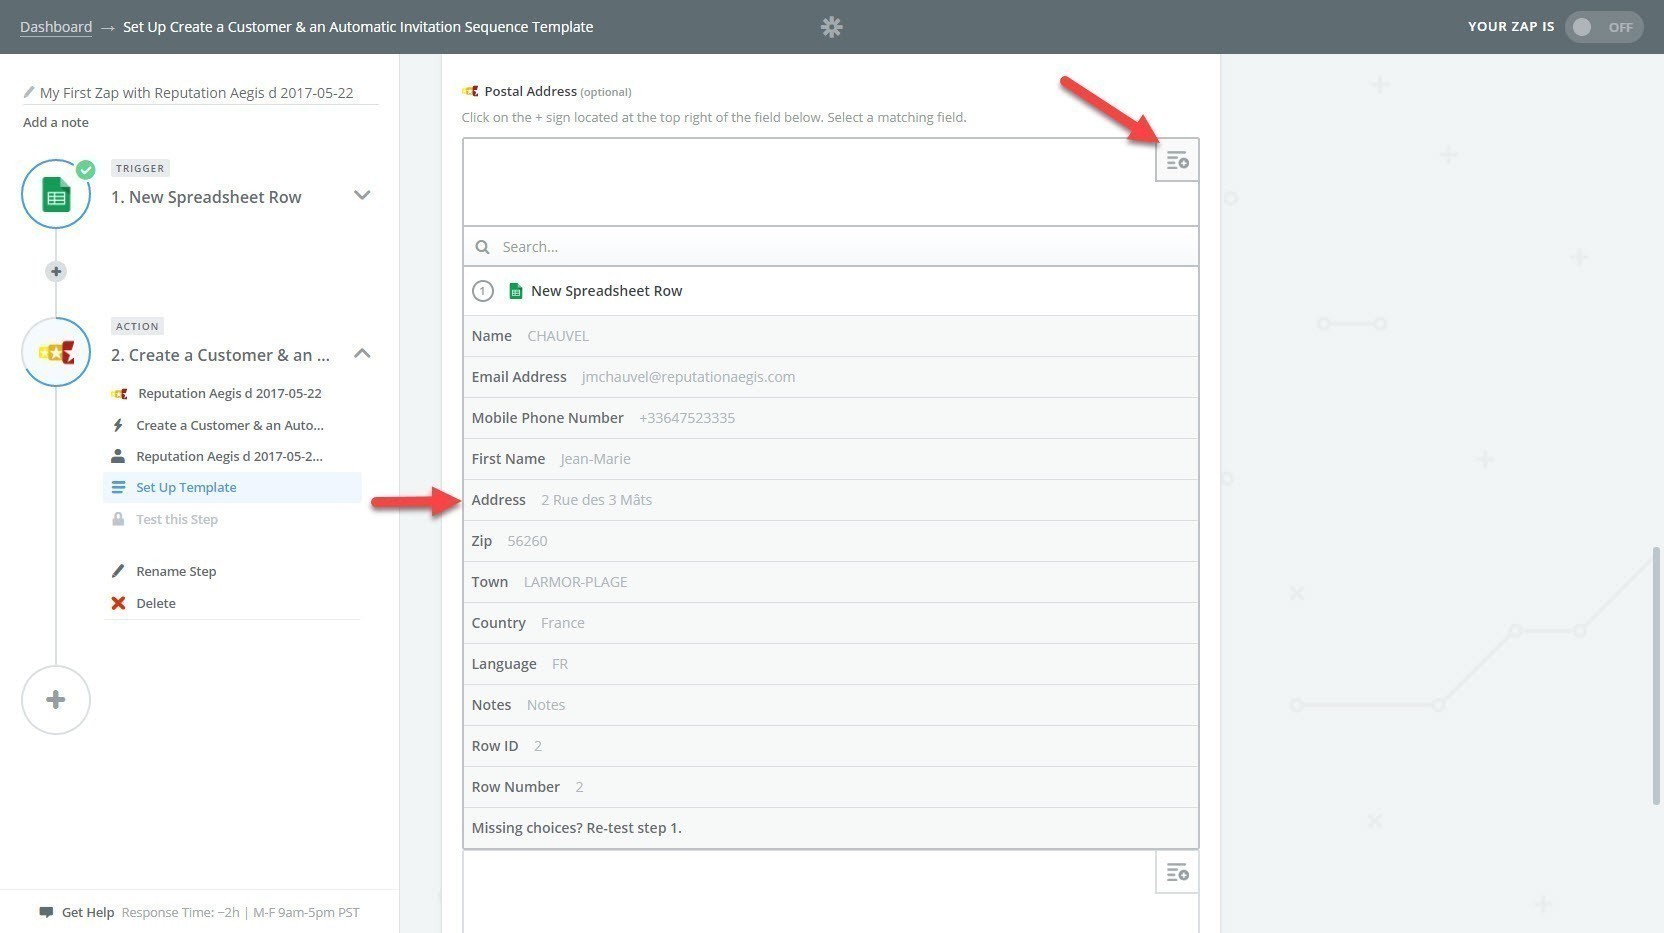
Zipcode
Click the dropdown icon at the right and, in the dropdown list, select: Zip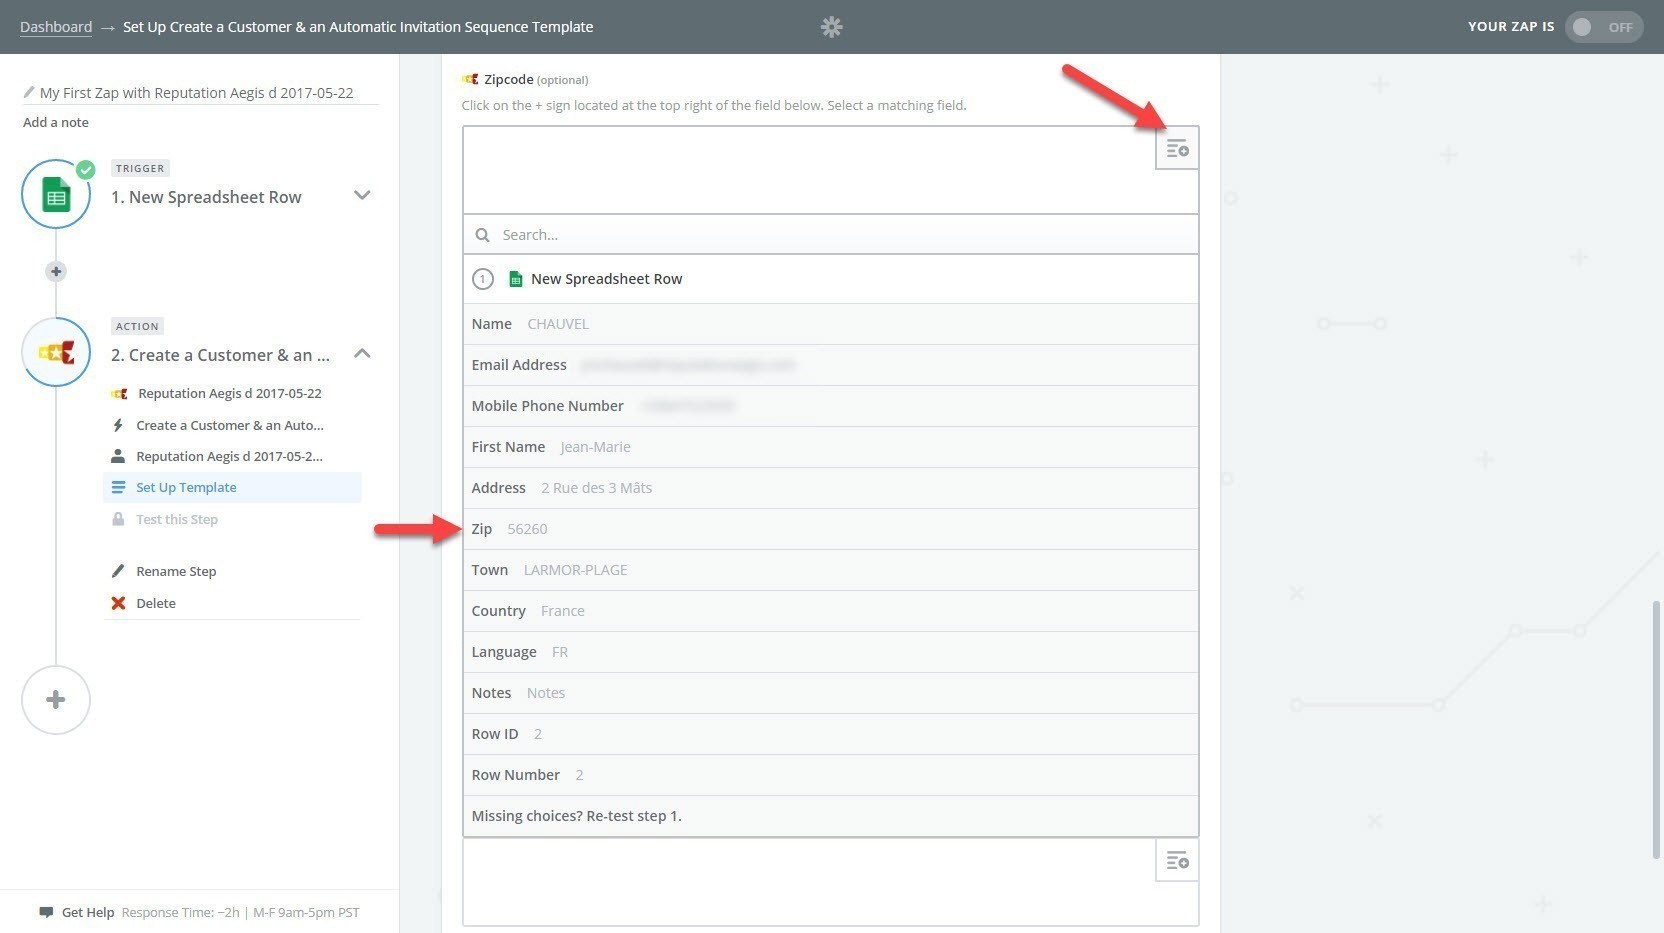
City
Click the dropdown icon at the right and, in the dropdown list, select: Town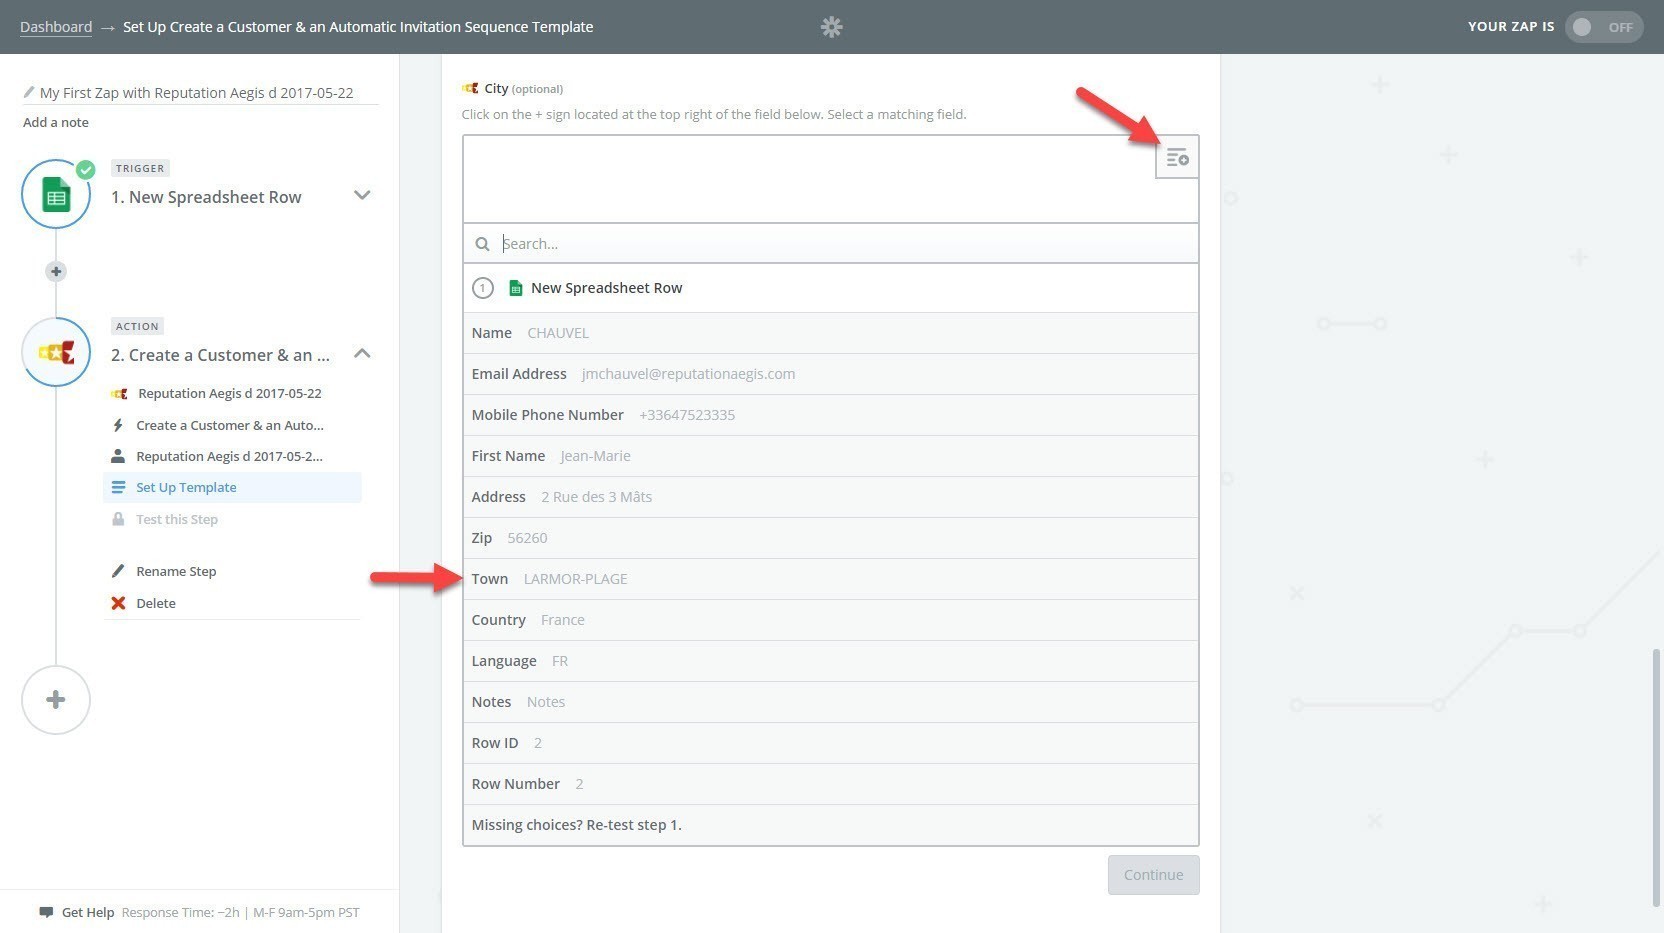
Country
Click the dropdown icon at the right and, in the dropdown list, select: Country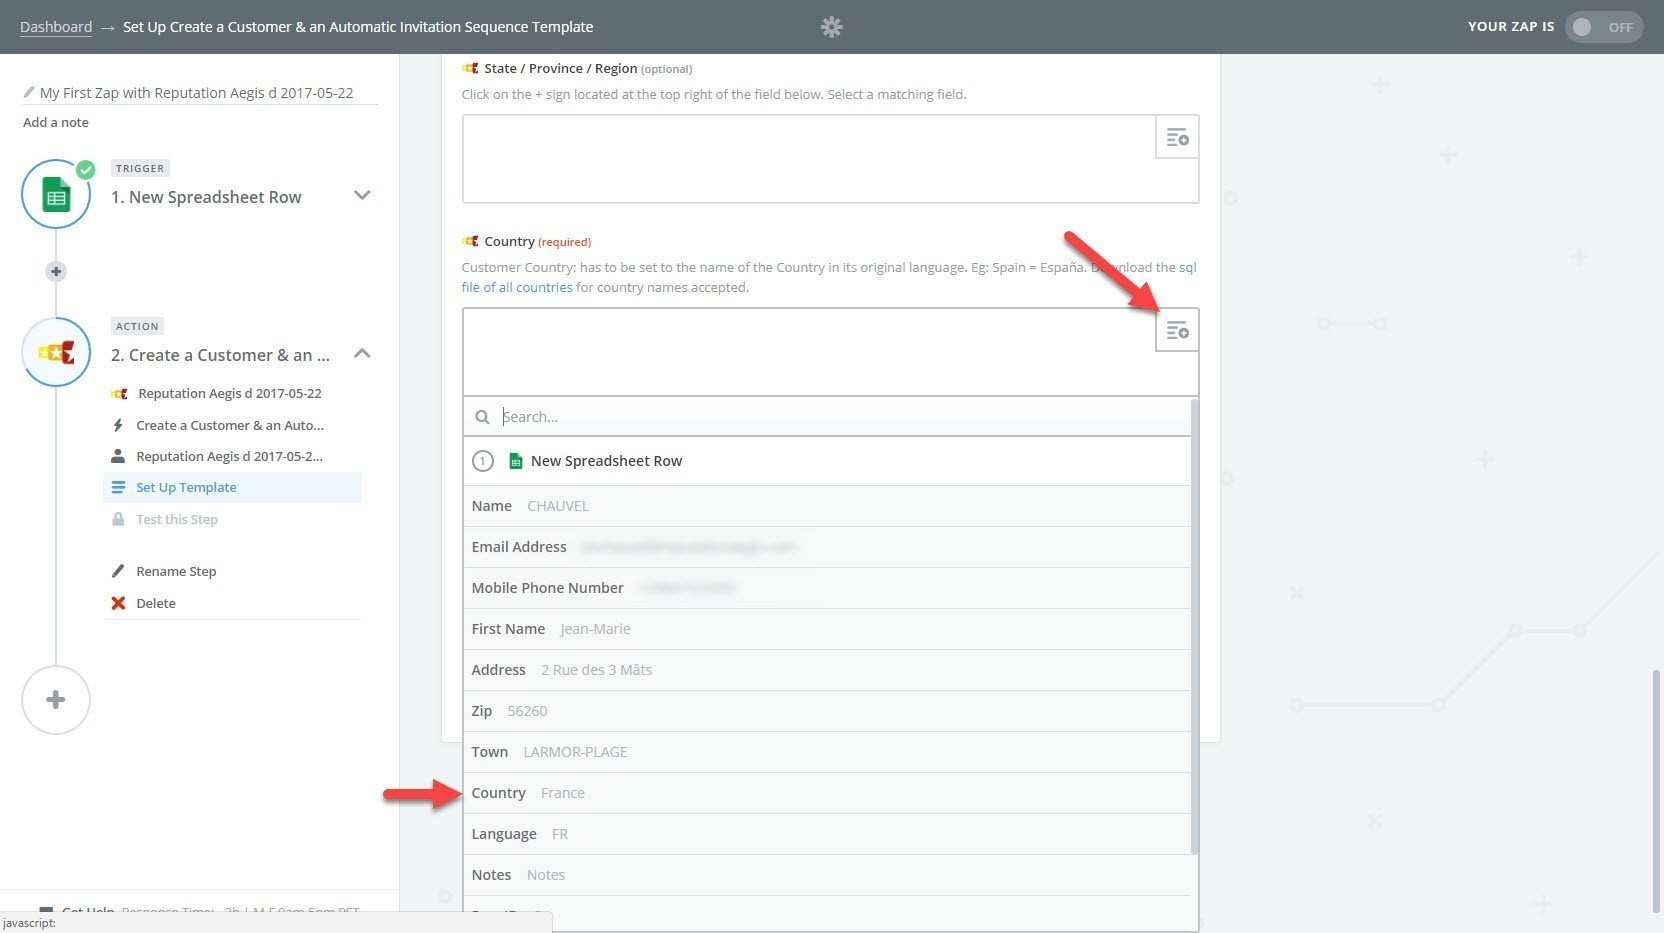
Notes
Click the dropdown icon at the right and, in the dropdown list, select: Notes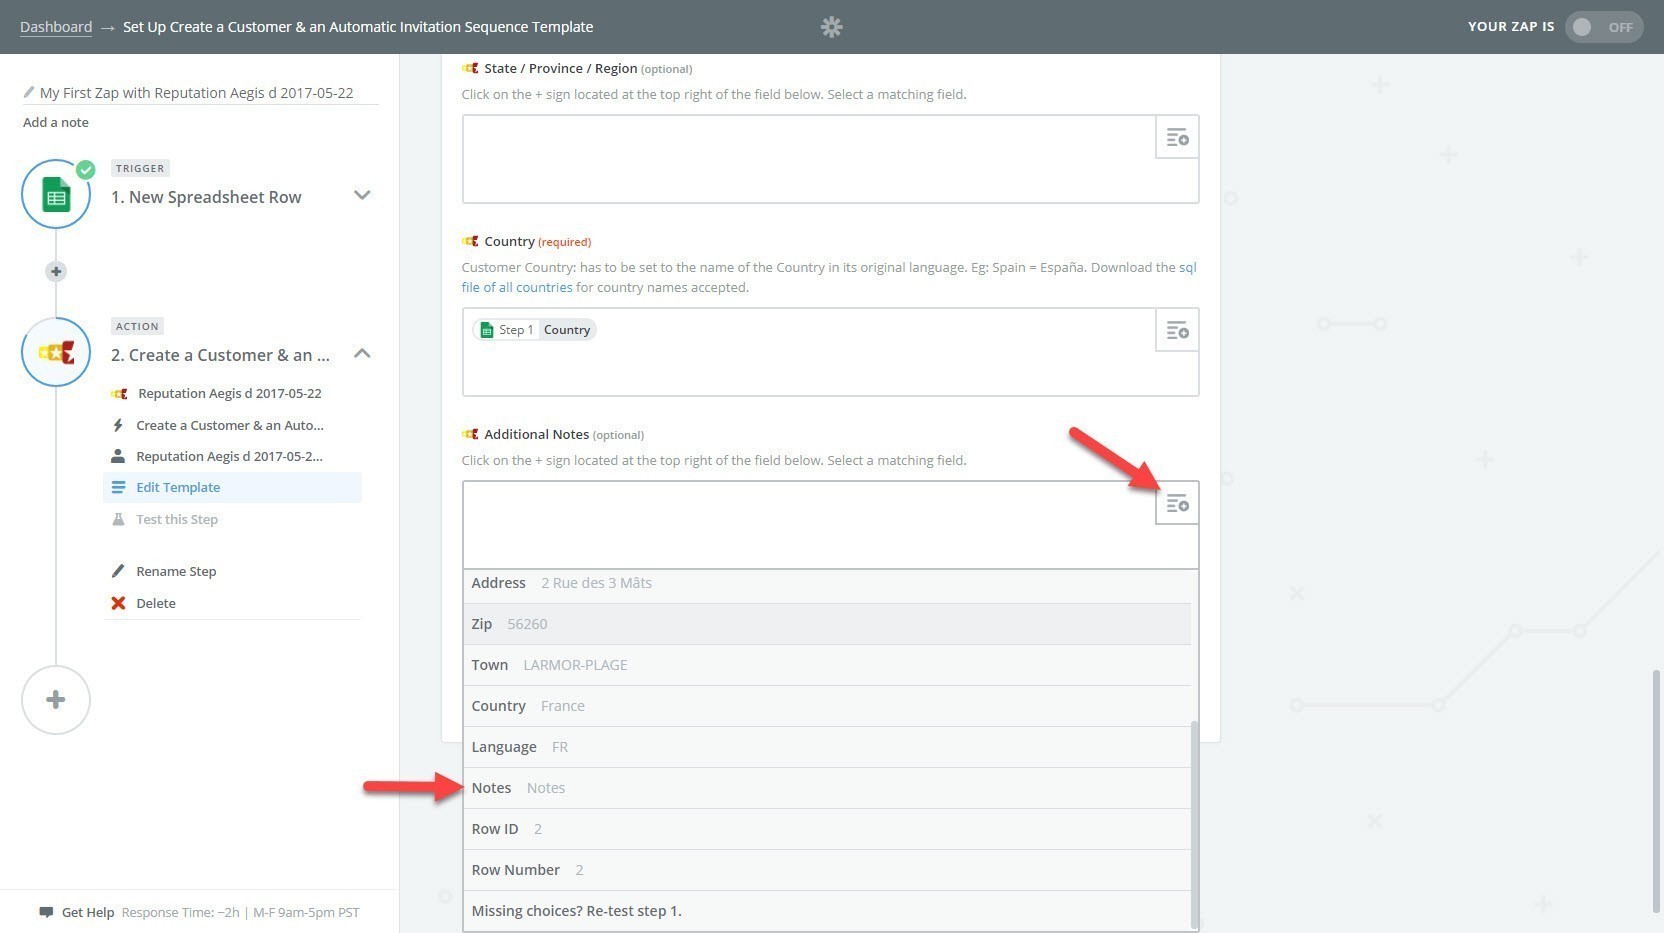
You are almost done... Let's test now!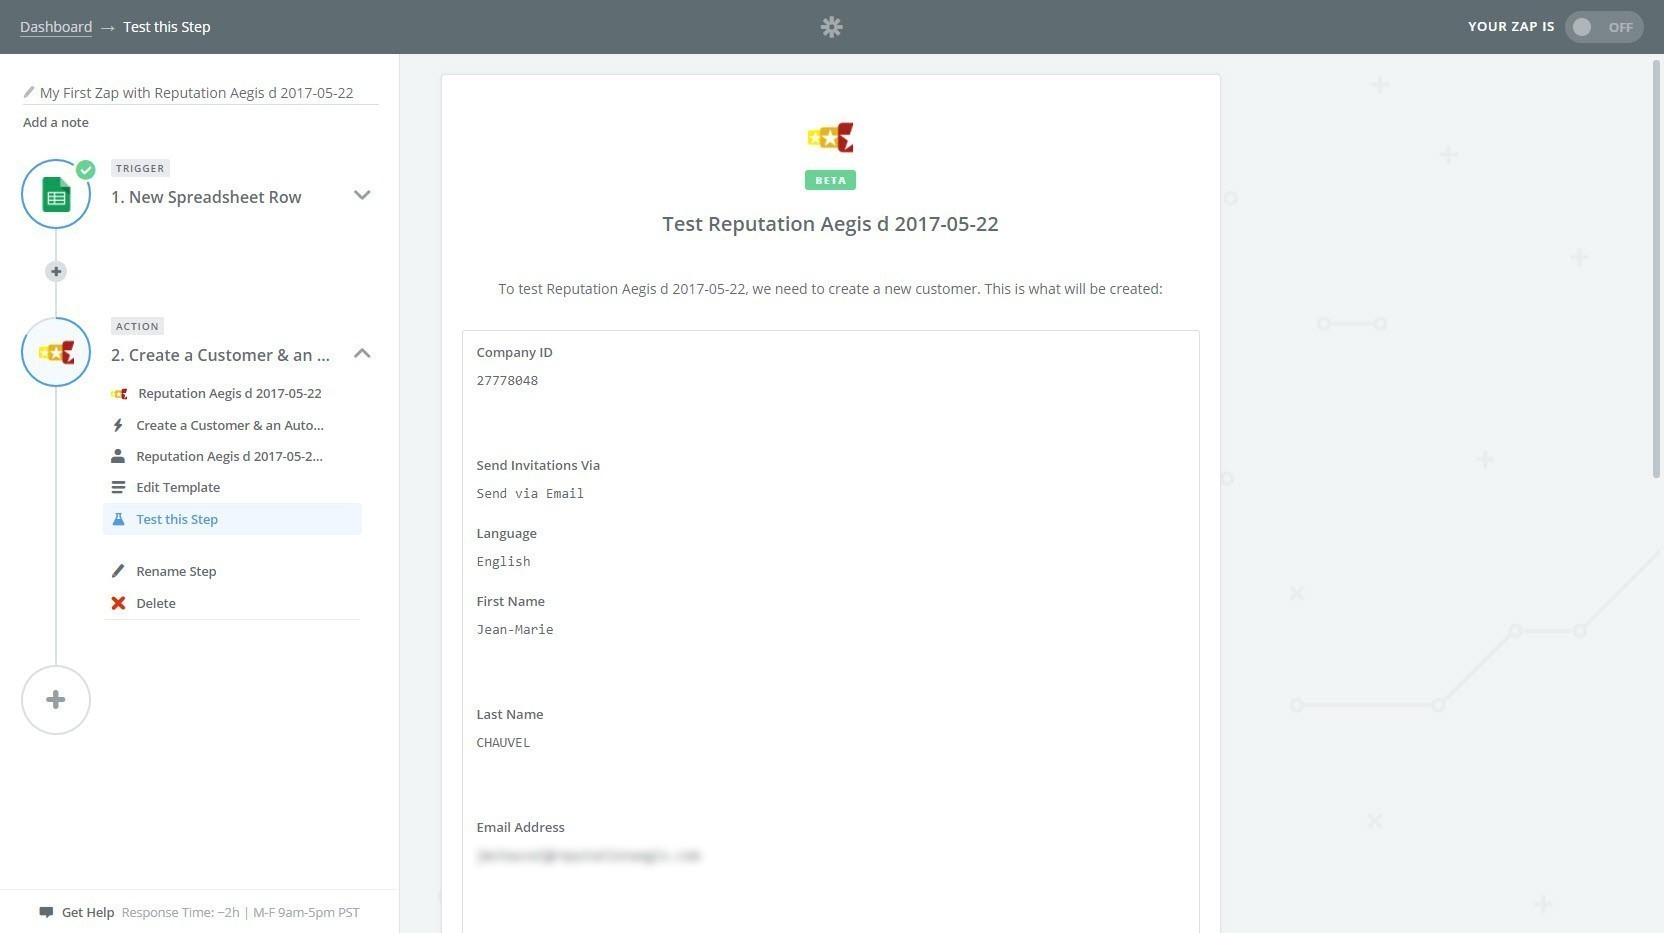
Scroll down and you can click the Create & Continue button to test the application and create your first Customer (row #2 of your Google Sheet) in the Reputation Builder of Reputation CRM!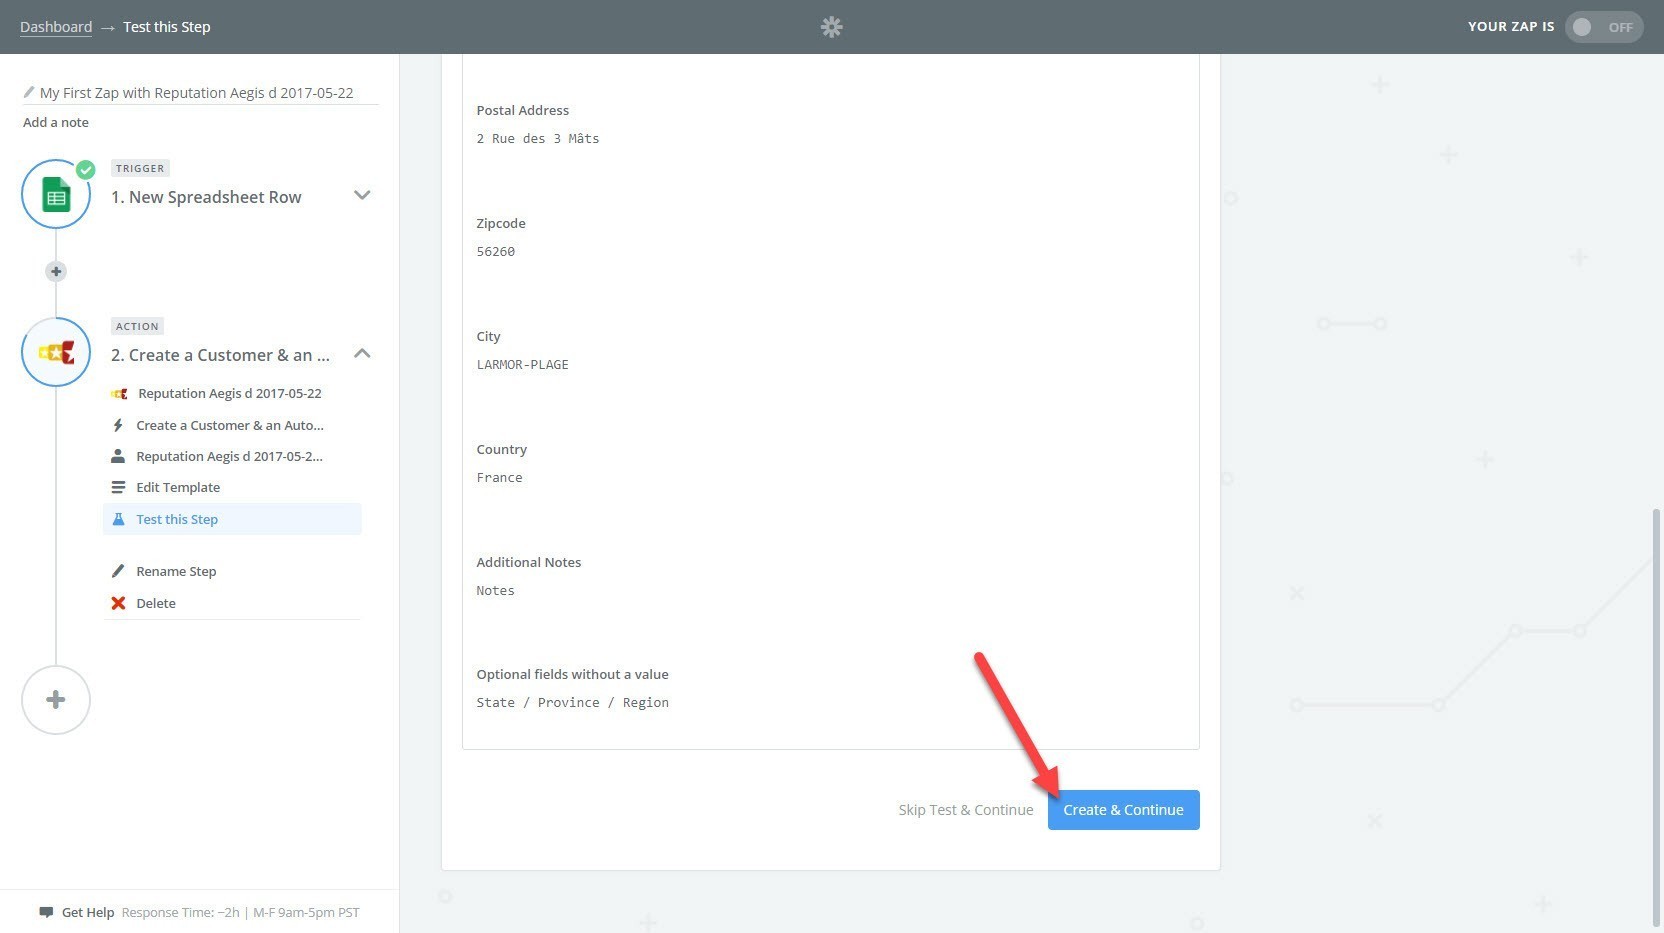
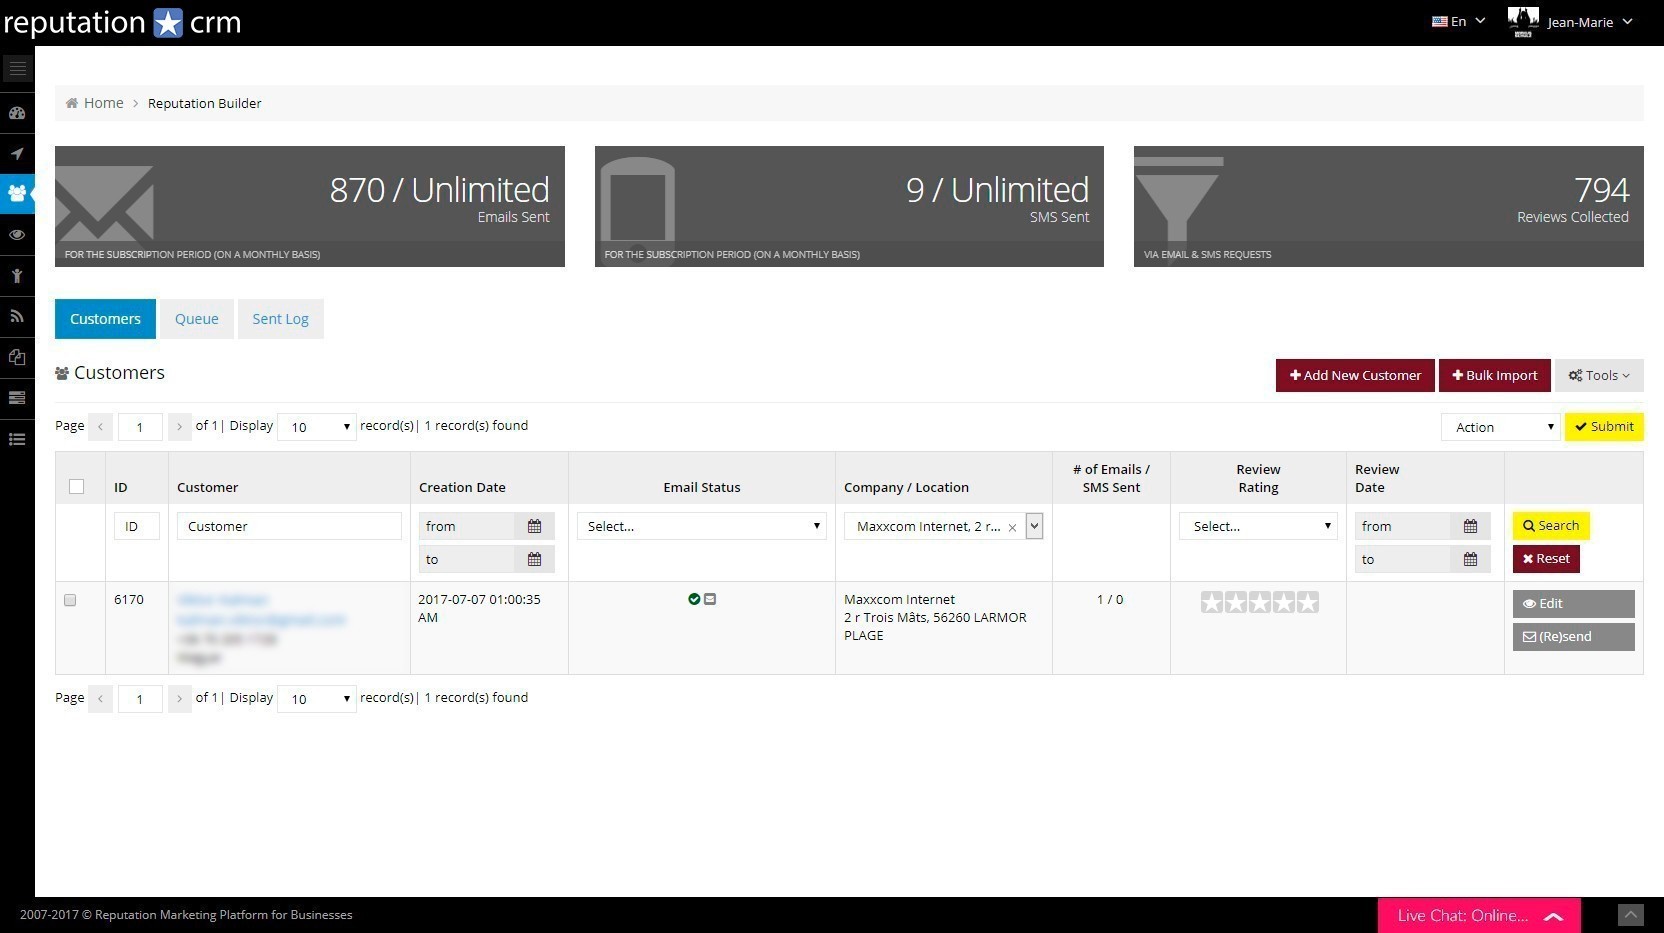
If the test is sucessfull, you are done...
Any new row created in your Google Sheet will now create a customer into the Reputation Builder and launch an automatic review invitation sequence.
Click the Finish button: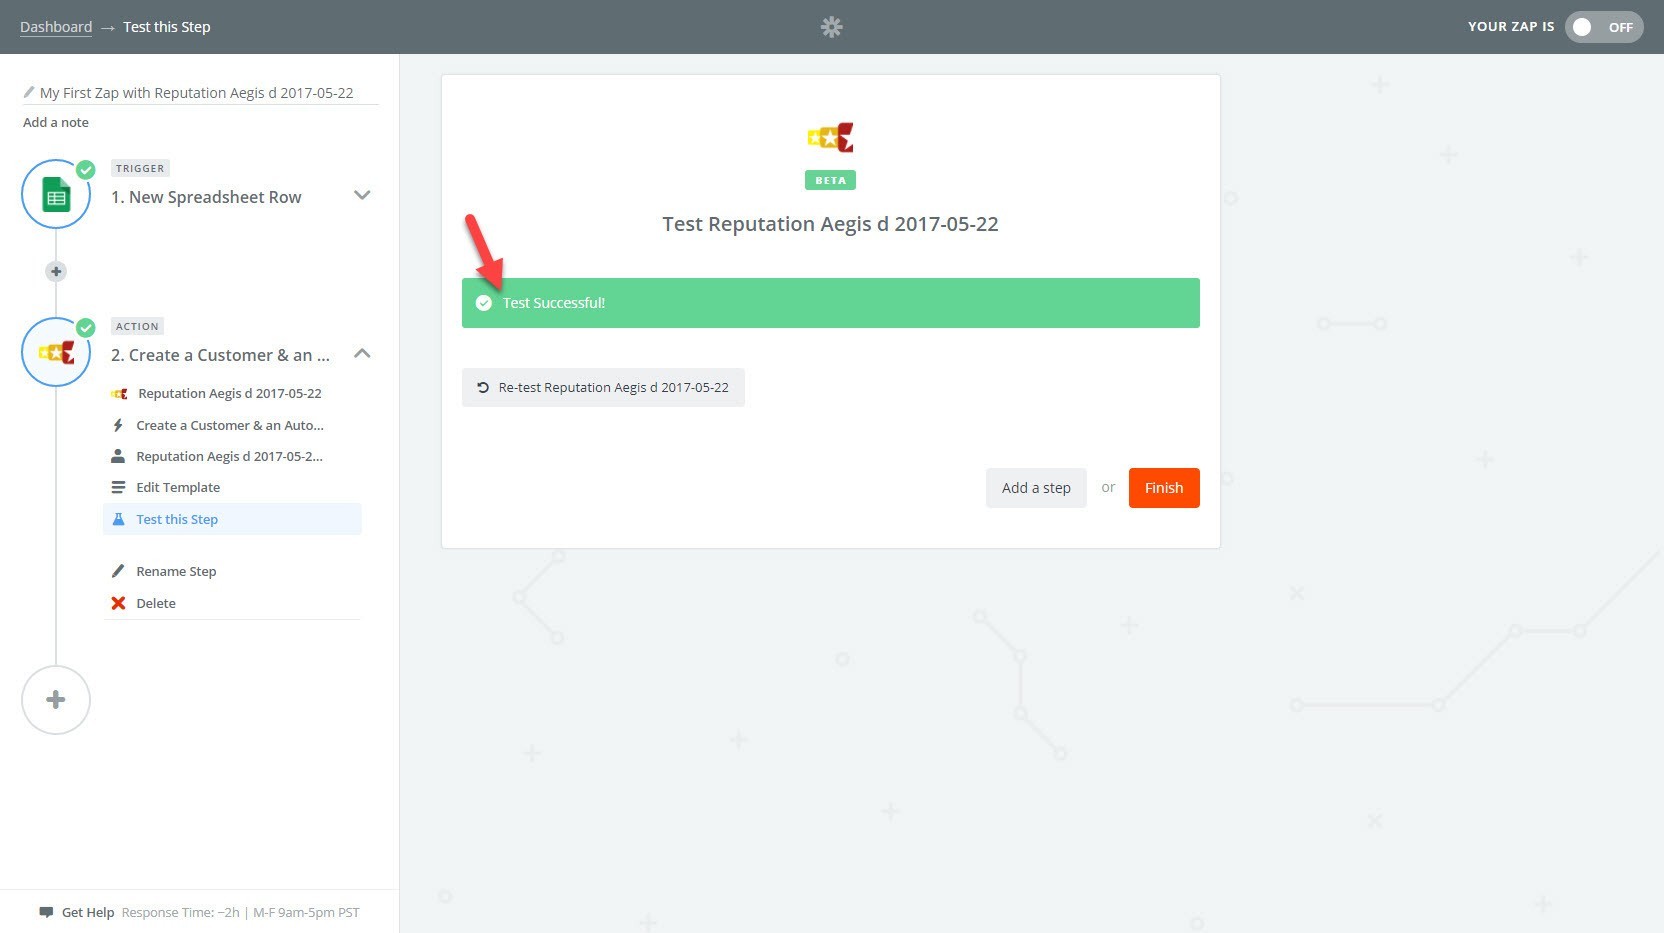
By default, your Zap is in Off mode. Click any of the 2 buttons below to turn it On: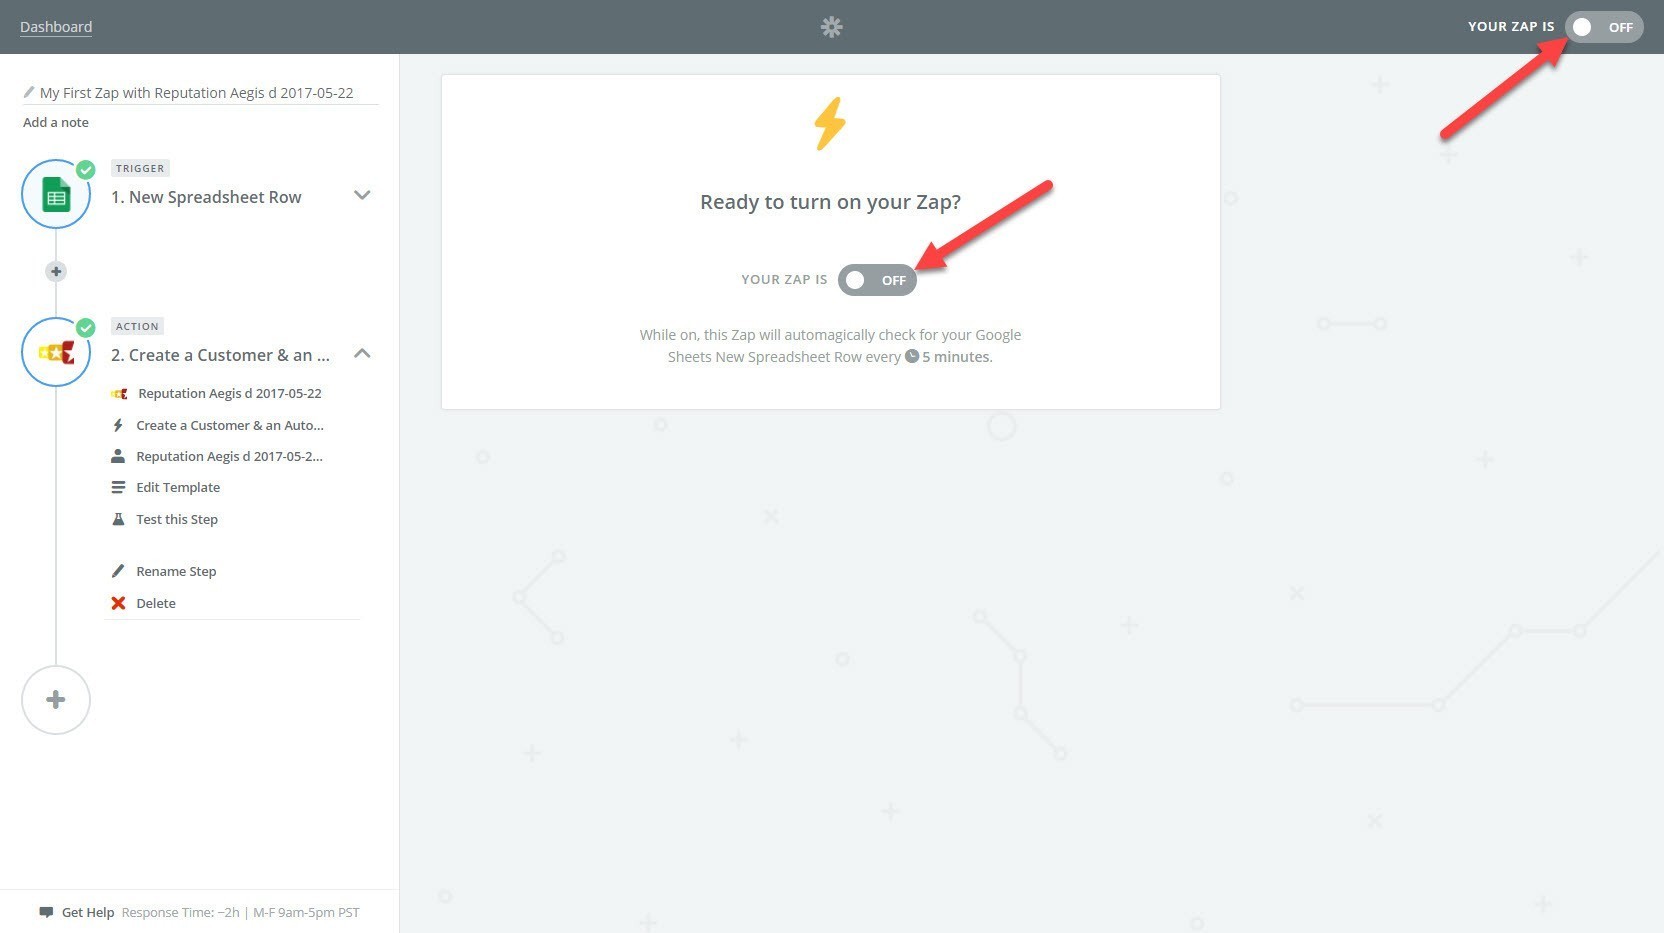
Here is what you will see when the Zap is turned On: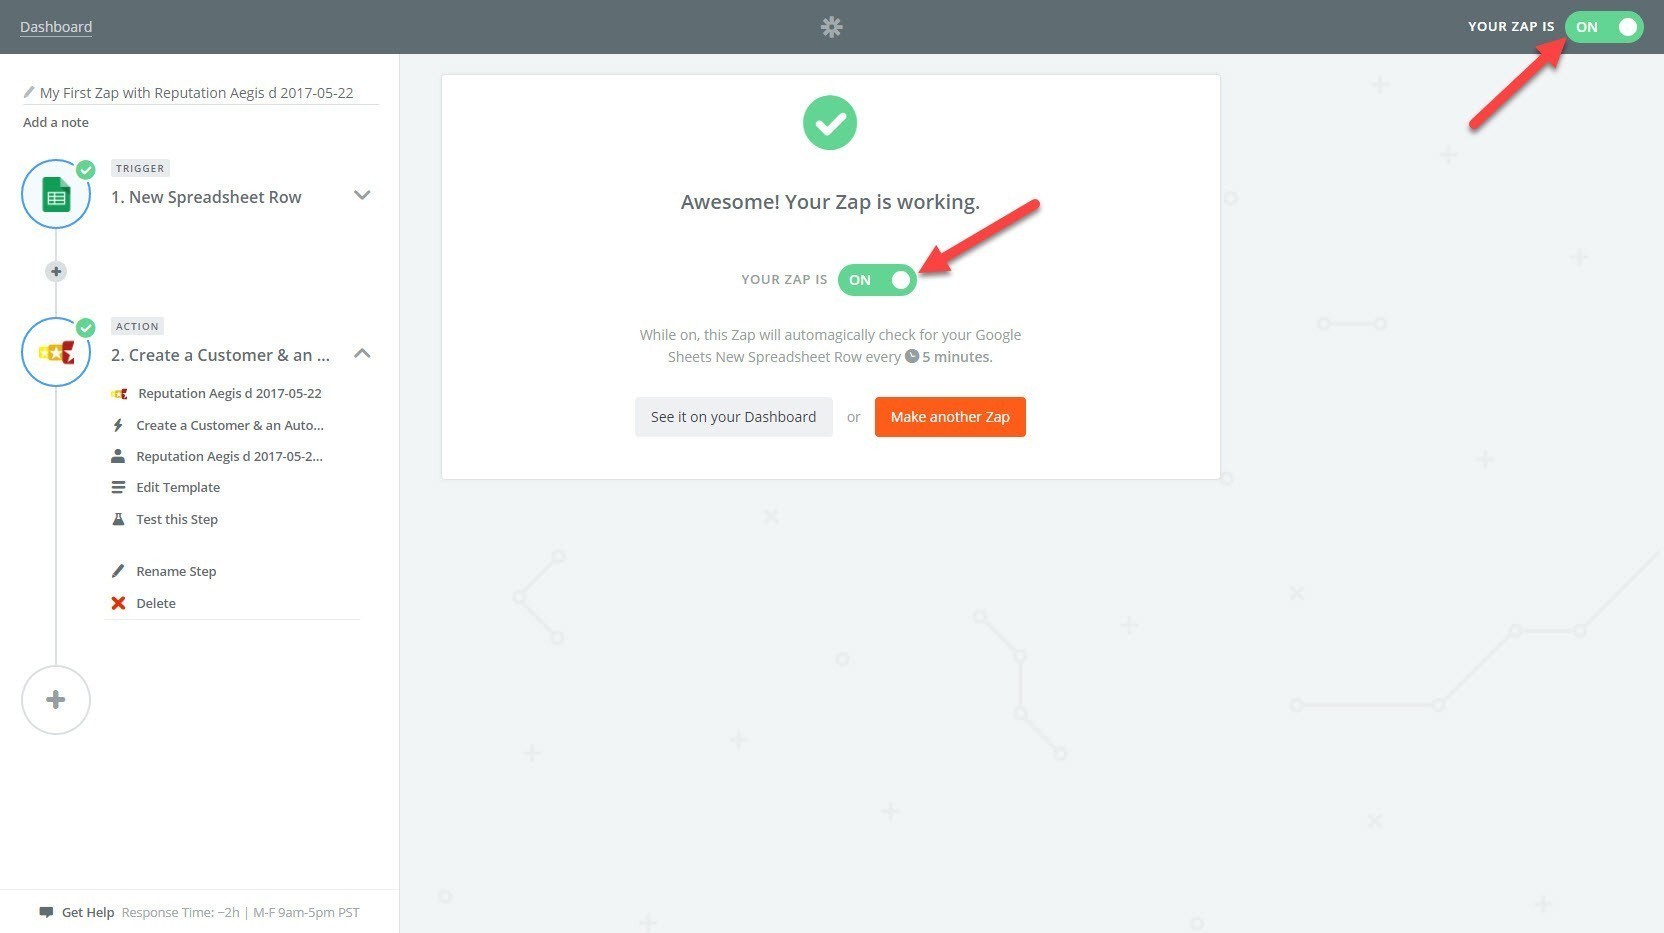
Rename your Zap with a name you can easily remember.
And click the See it on your Dashboard button, to go back to the Zapier Dahsboard: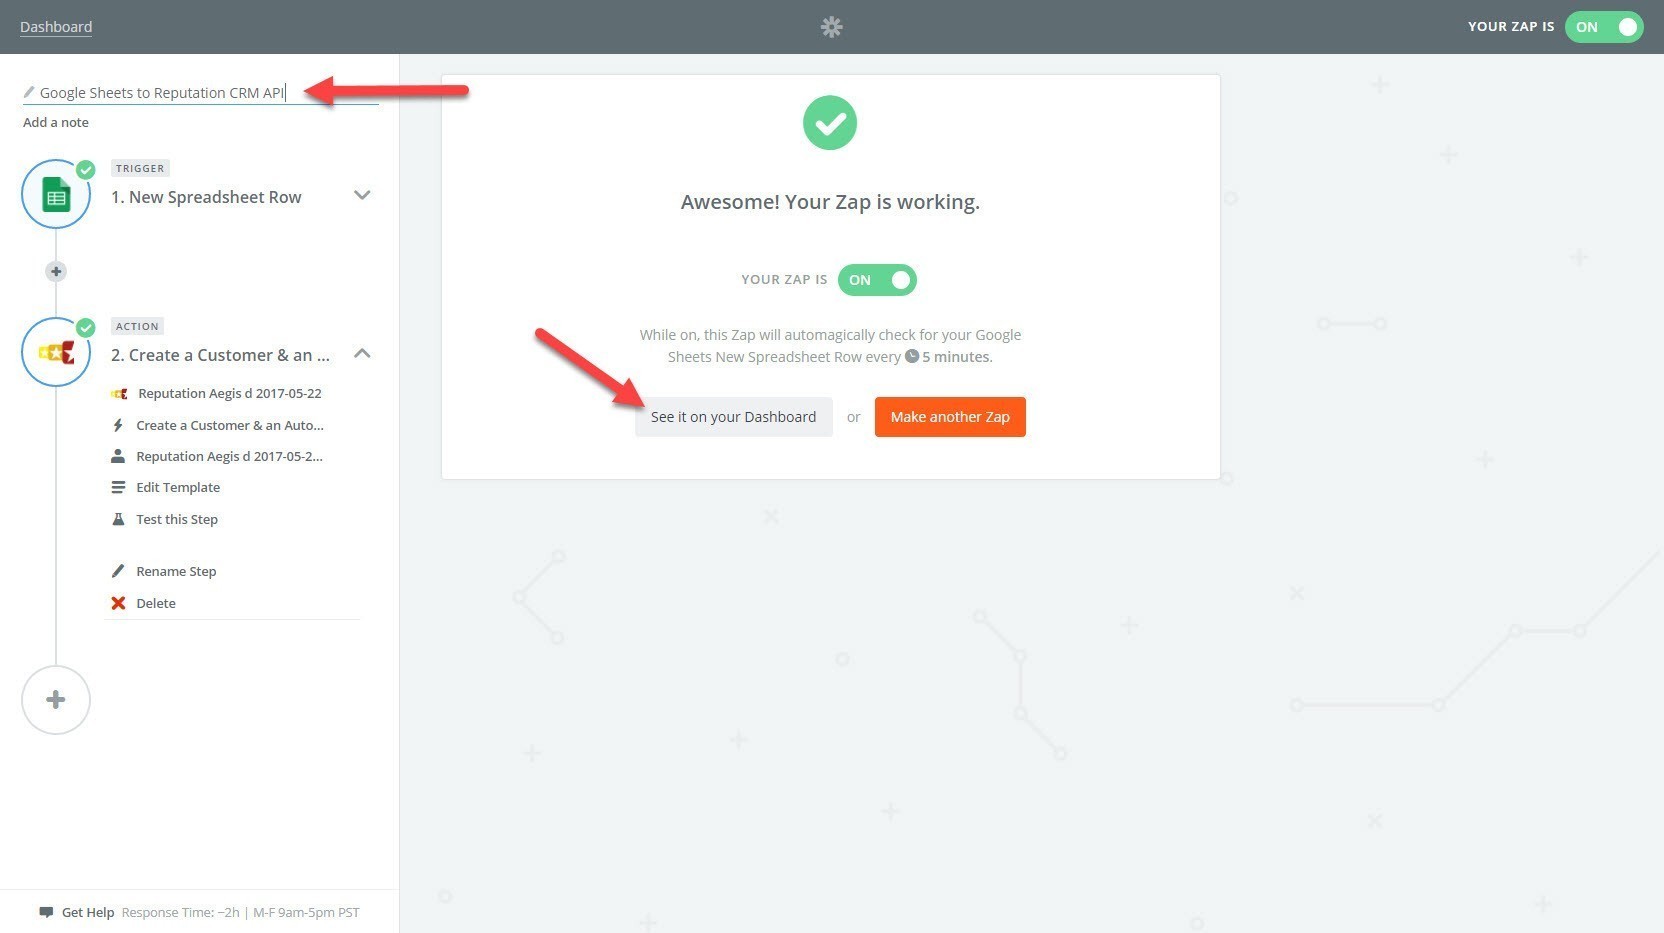
In the Dashboard, all the Zaps you have created are listed: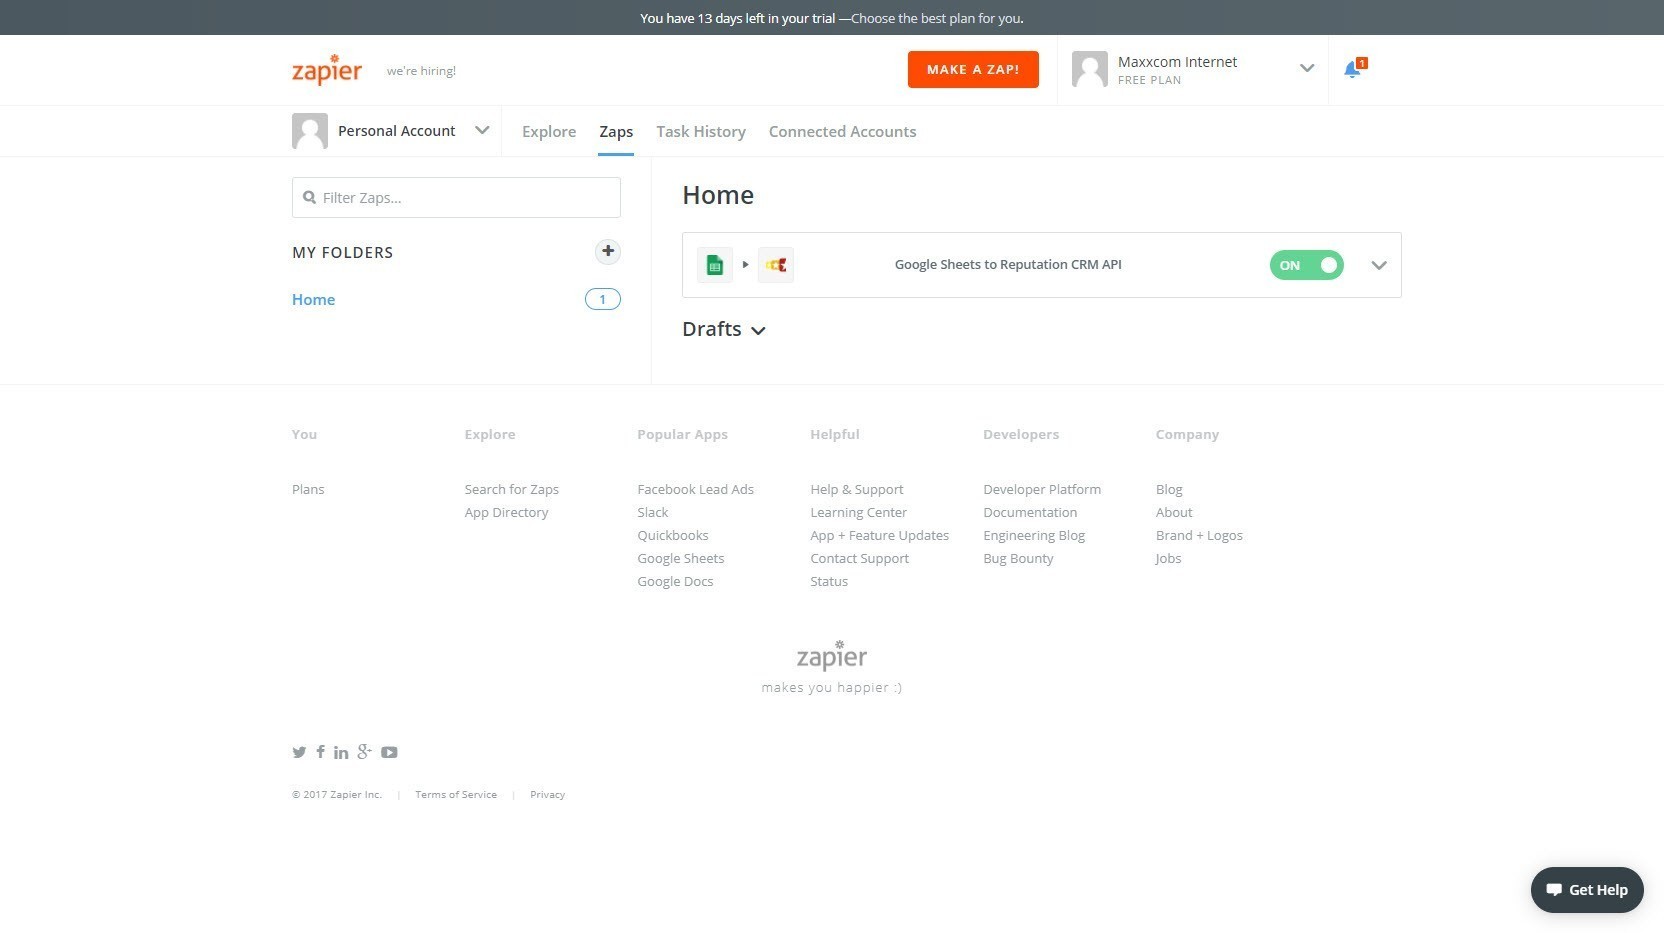
Now, you just need to add a new row to the Google Sheet...
and the new customer will get created into the Reputation Builder AND a Review Invitation Sequence will be scheduled: